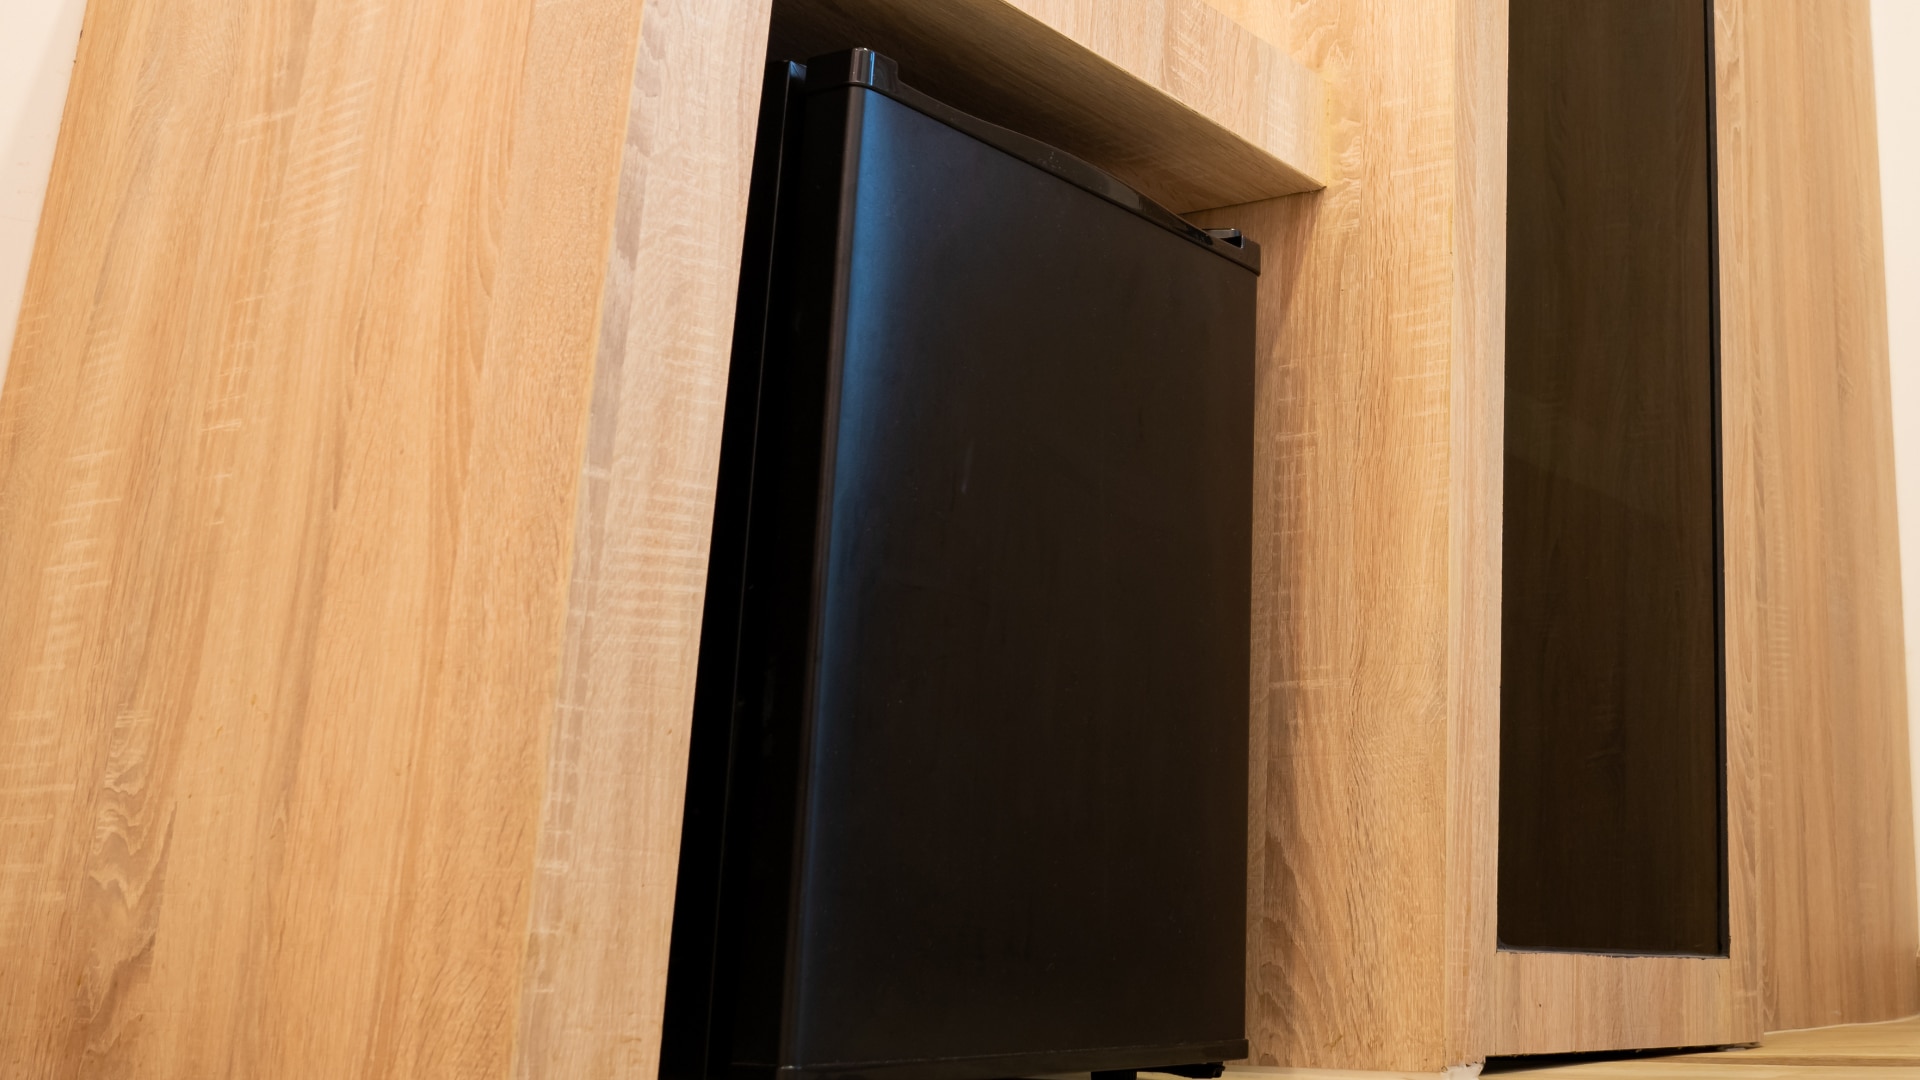
Mini fridge not cooling? Then this article is for you.
In this guide, we discuss five easy fixes you can apply to sort the underlying cause of the problem out. Hopefully, by the end of the guide, you’ve managed to get your mini fridge working again.
If a mini fridge stops cooling it’s usually the result of dirty condenser coils, a defective door gasket, a faulty condenser fan, a broken thermostat, or a defective start relay. For each of these problems, we’ve provided step-by-step instructions for how to fix them.
Let’s start with dirty condenser coils.
Fix 1 – Clean the condenser coils
The first fix is to clean the condenser coils. The condenser coils are located at the back of your appliance and their purpose is to help keep your fridge cool. When they become dirty or covered in frost, your mini fridge won’t cool. To avoid this happening, it’s a good idea to give them regular cleaning.
This is the process for cleaning the condenser coils:
- Unplug your mini fridge or switch it off.
- Pull the fridge out from its cabinet or away from the wall.
- Locate the condenser coil cover (if applicable) and remove it.
- Now that you have access to the coils, give them a good clean. If frosted over, leave them for an hour or so to let them defrost. The easiest way to clean the coils is to use a damp cloth to remove any dust from them.
- Once clean and defrosted, put the cover back on and turn your fridge back on.
- Check if your mini fridge can now cool properly. If it still doesn’t cool, try the next fix.
Fix 2 – Check the door gasket
The plastic seal around your fridge’s door is called a gasket. If the gasket becomes damaged or something gets stuck in it, warm air might leak into your mini fridge and prevent it from staying cool.
This is the process to check the door gasket:
- Start by opening the door to your fridge.
- Inspect the gasket for any signs of damage.
- If damaged, it will need to be replaced. To replace the gasket, you need to order the correct replacement part. All you need to do then is remove the old one and then install the new one in the same position.
- If the gasket isn’t damaged, give it a good clean with hot soapy water and a small brush.
- Once clean or replaced, shut the door and make sure the power is turned on. Check if the problem is solved. If not, move on to the next fix.
Fix 3 – Check the condenser fan
The next possible fix is to check, and if necessary replace, the condenser fan. The fan helps the condenser coils stay cool and operate correctly. When the fan or the motor that powers it becomes defective, your mini fridge might not cool.
This is the process to check the condenser fan:
- Unplug your mini fridge or switch the power off.
- Pull your fridge out so you can access the back of it.
- Locate the condenser fan and remove its cover.
- Attempt to turn the fan around. If the fan cannot move the whole way around due to an obstruction, remove what’s in the way. If the fan is damaged, it needs to be replaced.
- If the fan is working properly, the next step is to test the fan motor with a multimeter.
- If the multimeter test shows no continuity, replace the fan unit. If the motor is working correctly, try the next fix.
- Once the fan has been repaired or replaced, turn your mini fridge back on and check if it can now cool correctly. If not, try the next fix.
Fix 4 – Check the thermostat
The thermostat is installed in your mini fridge to monitor the temperature and tell the control board what the temperature is. This is so the control board can then tell other components in your fridge to turn on or off to maintain the correct temperature. If the thermostat becomes faulty, it may stop your mini fridge from staying cool.
This is the process to check the thermostat:
- Unplug your mini fridge or switch the power off.
- Locate the thermostat in your mini fridge.
- Attempt to manually change the thermostat from its lowest setting to the highest. When you turn it the whole way up, you should be able to hear a clicking sound. If you don’t, this means the thermostat is defective and will need to be replaced.
- If you do hear a clicking sound, the next step is to test the thermostat with a multimeter.
- If the multimeter test shows no continuity, replace the thermostat. If working correctly, try the next fix.
- Once the thermostat has been replaced, turn your mini fridge back on and check if it can now cool correctly. If not, try the next fix.
Fix 5 – Check the start relay
The final fix is to check the start relay to see if it’s defective. The purpose of the start relay is to help the compressor to operate so your mini fridge can keep cool. When it stops working, your mini fridge won’t be able to cool down to the correct temperature.
This is the process to check the start relay:
- Unplug your mini fridge or switch the power off.
- Locate the start relay.
- Test the start relay with a multimeter.
- If the multimeter test shows no continuity, replace the start relay. If working correctly, you’ll need to get a technician to come and inspect your mini fridge.
- Once the fan has been repaired or replaced, turn your mini fridge back on and check if it can now cool correctly. If not, you’ll need to get a technician to come and inspect your mini fridge.
How to Fix Whirlpool Stove F9 Code
Fix Whirlpool Duet’s F20 Error Code

Freezer Working But Not Fridge? 5 Fixes

Speed Queen Washer Error Codes Explained
7 Reasons Why Your KitchenAid Ice Maker Isn’t Working
LG Oven F9 Error: Here’s How to Fix It

How to Replace an LG Refrigerator Air Filter

What Do Dryer Sheets Do?

How to Cook Corn on the Cob in the Microwave
