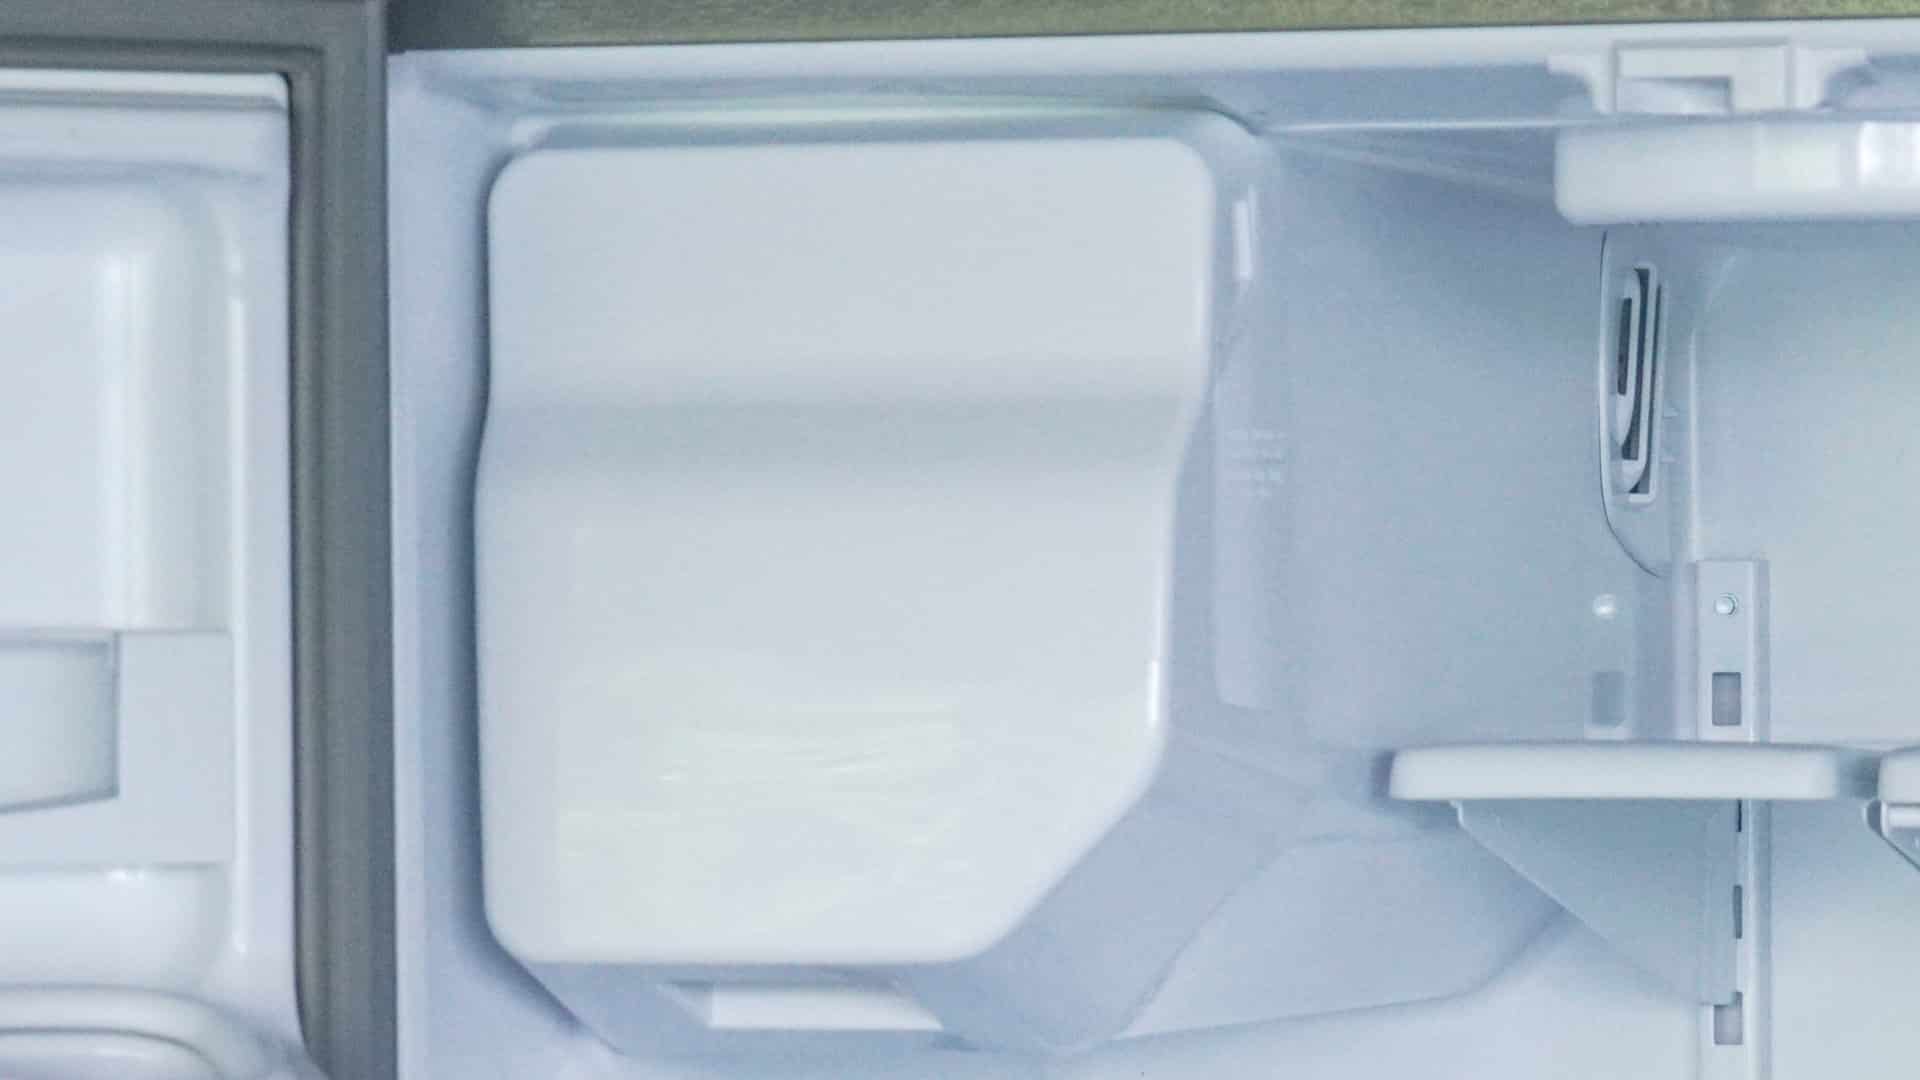
Whether your KitchenAid ice maker is making a little bit of ice or no ice at all, it can be a frustrating problem to encounter. Fortunately, with the right tips and advice, it isn’t always the most challenging problem to fix.
This article will list the seven most common reasons why your KitchenAid ice maker isn’t functioning how it should and provide simple-to-follow instructions so you can resolve the issue.
1. Is Your Ice Maker Turned On?
It sounds obvious, but it’s easy to accidentally turn off the ice maker. Some KitchenAid refrigerator models allow you to turn on and off the ice maker using the control panel interface while others have a switch on the ice maker itself. So, it’s worth double-checking that your ice maker is actually on before moving on to the next tip.
2. Is the Shut-Off Arm Stuck?
Most ice makers also have a shut-off arm that pauses ice production when the ice bin is full. However, this arm, which is usually made of plastic or metal and sits across the top or side of the ice maker, can sometimes get stuck in the shut-off position either because something is obstructing it or the arm or its spring is damaged.
To resolve this, check that the arm isn’t stuck in the shut-off position and is able to move freely. If it appears to be broken, it’s usually possible to order a compatible replacement, remove the old arm, and fit the new one yourself.
3. Do You Need To Replace the Water Filter?
Your refrigerator’s water filter ensures you have fresh clean water and ice cubes by filtering out sediment and impurities. However, over time, the filter can become clogged, which is why it’s recommended to replace it at least every 6 months.
If your water filter has been in use for longer than this, or you suspect it may be old and clogged, it’s worth replacing it with a new one. That’s because a clogged filter will reduce how much water can get to the ice maker, inhibiting ice production. It can also cause any ice that’s made to taste or smell off.
After installing the new filter, be sure to flush out the system by running the water dispenser for 5 minutes or until 3 gallons of water have passed through to flush out any trapped air or impurities. Then, allow 24 hours for the ice maker to make new ice.
4. Is the Water Supply Connected and Turned On?
To check the connection of the water supply, you’ll want to pull your refrigerator away from the wall since the water line typically connects at the back of the appliance. Then, you want to check whether the water line is connected to both the refrigerator and the water supply valve and that the water supply valve is fully open.
Next, check the water line and connection points for any damage, kinks, leaks, or blockages that may be disrupting the supply of water to the unit. Finally, check the water pressure as it needs to be at least 20 psi for the ice maker to work properly.
You can do this by turning off the water supply, disconnecting the water line from the refrigerator, fitting a pressure gauge to the end of the water line, and then turning back on the water supply to measure the pressure.
5. Is the Appliance at the Right Temperature
On your KitchenAid refrigerator, the fridge compartment should be between 33°F and 40°F (0°C to 4°C) while the freezer compartment should be 0°F (-18°C). Otherwise, ice production can be disrupted.
To see if this is the case, start by checking whether the temperature settings on the appliance are set correctly on the control board or temperature dials. Then, place an appliance thermometer inside to make sure the desired temperatures are actually being reached.
If the fridge or freezer compartments are failing to reach the right temperatures, it could be because:
- The door gaskets aren’t sealing properly. Try cleaning them or replacing them if damaged.
- The doors are being opened too frequently or left open for long periods, allowing cold air to escape and warm air to enter.
- The condenser coils are dirty, affecting the refrigeration cycle. You can clean them with a soft brush and a vacuum.
- The air vents inside the appliance are being blocked by ice or food items, preventing cold air from circulating. Unblock them or rearrange food items if so.
6. Are the Ice Cubes Stuck Together
Large clumps of ice in the ice bin can prevent the ice cubes from being able to dispense. This often occurs if there have been power outages or temperature fluctuations in the freezer compartment as these interruptions allow the ice cubes to partially melt and then refreeze and stick together. Ice clumps can also form if the ice maker isn’t used for a long period.
If you find large clumps of ice in the ice bin, discard them and allow the ice maker to start making a new batch. Also, be sure to use the ice maker regularly to prevent the issue from recurring.
7. Is Part of the Ice Maker Frozen
There are a few parts of the ice maker that are prone to freezing over, which can halt ice production or dispensing. Common culprits include the auger motor, ice chute, and fill tube.
The auger motor drives the auger, which pushes the ice cubes in the ice bin forward so they can be dispensed. If the motor is frozen, the ice cubes simply won’t dispense.
To defrost this component, follow these steps:
- Unplug the appliance.
- Open the freezer door.
- Remove the ice bin.
- Remove any food and store it in an appropriate container to prevent it from melting or spoiling.
- Allow the ice maker to thaw out naturally for a few hours.
The ice chute is the part that directs ice cubes from the ice bin to your glass. Sometimes ice can get stuck inside the chute, clogging this exit point and preventing dispensing. To resolve this, you can try these steps:
- If the chute is blocked by loose ice cubes, you may be able to wiggle them free.
- If the chute is frozen shut, you’ll need to defrost it using a hair dryer on the lowest setting or a clothes steamer.
The fill tube is where the water runs from the water supply line into the ice maker molds. It’s usually found on the back wall of the freezer compartment near the ice maker. If the fill tube is frozen, you can use a clothes steamer or a hair dryer on the lowest setting to defrost it.
How to Fix Whirlpool Stove F9 Code
Fix Whirlpool Duet’s F20 Error Code

Freezer Working But Not Fridge? 5 Fixes

Speed Queen Washer Error Codes Explained

7 Reasons Why Your KitchenAid Ice Maker Isn’t Working
LG Oven F9 Error: Here’s How to Fix It

How to Replace an LG Refrigerator Air Filter

What Do Dryer Sheets Do?

How to Cook Corn on the Cob in the Microwave
