

September 7, 2023
Refrigerator Repair
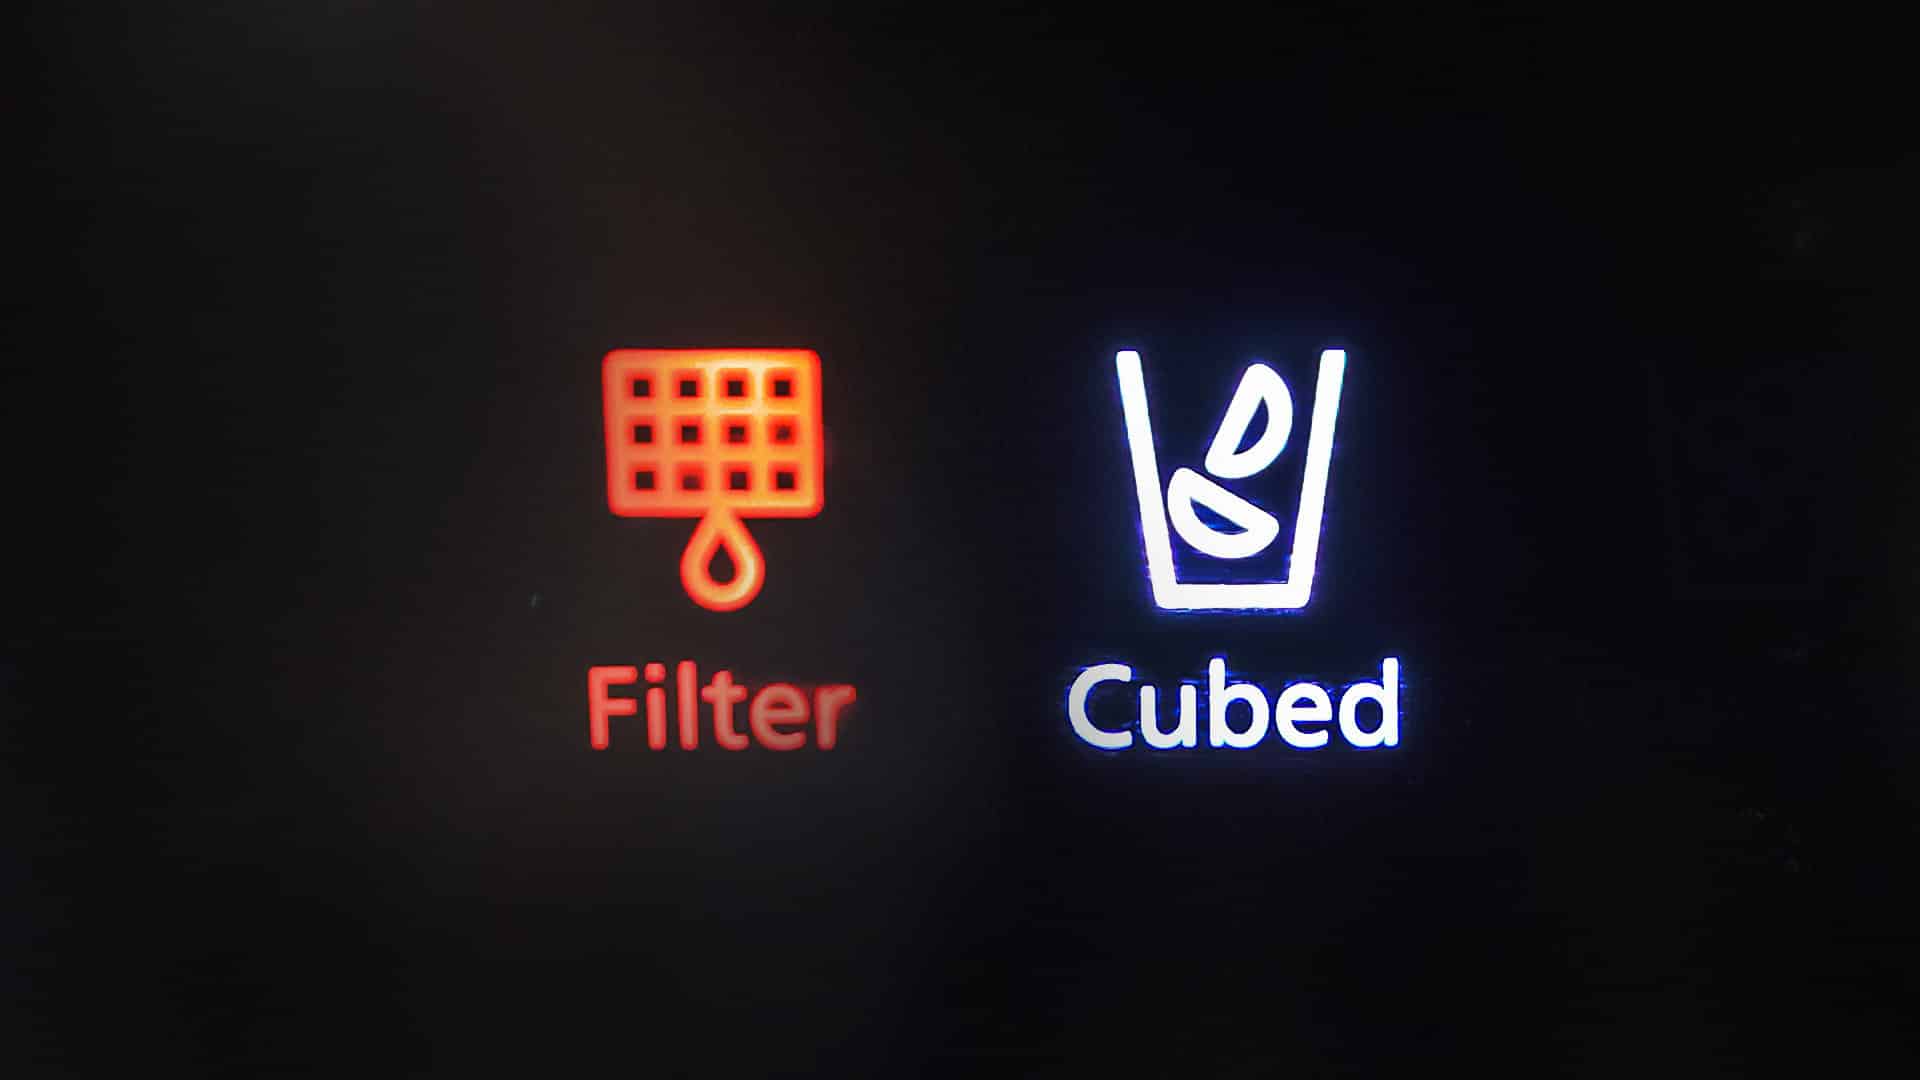
Is your Samsung refrigerator having some issues with the water filter? Perhaps the water tastes a bit weird or has an unusual odor. Chances are, your filter could be in need of a replacement. This is a common issue many Samsung fridge owners face, but don’t worry, we’ve got you covered! In this blog post, we’re going to walk you through the process of replacing your Samsung refrigerator water filter.
Step 1: Find Your Replacement Filter
First, refer to your Samsung fridge’s manual or search for any labels found on the filter itself. It is important to check what type of filter is used for your Samsung refrigerator.
Most Samsung refrigerators use a high-quality activated carbon block filter, which reduces harmful contaminants and removes bad odors. Once you find the filter type, purchase a new filter that matches the old one.
To get started, you’ll need a replacement water filter suitable for your Samsung refrigerator model (you can purchase this online or from an appliance store) and some paper towels or a towel.
Step 2: Turn Off the Water
The next step is to turn off the water in your Samsung refrigerator. This can be done by locating the water supply line, usually behind the refrigerator. You will see the water supply line going to the back of the refrigerator. Turn the knob until it is perpendicular to the water line.
Now, take up your new filter and go to the next step.
Step 3: Locate the Water Filter
The location of the water filter varies depending on the Samsung refrigerator model and type of filter. Consult your refrigerator user manual or look online for the correct location. Once you’ve found the filter, take note of the orientation of the old filter, as you will need to match this when installing the new filter.
Step 4: Remove the Old Water Filter
For HAF-CIN and HAF-QIN filter types:
Open the filter cover, gently twist the old water filter counterclockwise, and angle it straight out of the filter housing. Be careful, as there may be some water left in the filter or around the housing. You can use the towel or paper towels to catch any stray water.
For HAFCU1 filter types:
Gently twist the old water filter to the left to unlock it. Pull the filter down to remove it from the filter housing. There may be some water around the filter nozzle or housing. Use the towel or paper towel to catch any spills.
Step 5: Prepare the New Water Filter
For HAF-CIN and HAF-QIN filter types:
Remove the protective cap on the new water filter and locate the O-rings. These are small rubber rings that create a watertight seal on the filter housing. Make sure they are lubricated with a small amount of water before installation.
For HAFCU1 filter types:
Proceed to the next step.
Step 6: Install the New Water Filter
For HAF-CIN and HAF-QIN filter types:
Push the new water filter straight into the filter housing. Turn the new filter clockwise to lock it into place. Make sure the lock symbol aligns with the indicator.
Do not force it in place, and do not over-tighten it, as this can damage the filter or housing.
For HAFCU1 filter types:
Push the new filter up into the filter housing. Turn it gently to the right until it locks into place. The notch at the top of the filter should align with the indicator line.
Step 7: Flush the Filter
Turn the water back on at the rear of the refrigerator.
When you install a new water filter in your home or appliance, it’s essential to flush a certain amount of water through it before using the filtered water for drinking or cooking. This flushing process helps to remove any impurities and air trapped in the new filter, which might affect the taste or quality of the water.
It’s crucial to let at least 2 1/2 gallons of water filter through before you start using it. This might seem like a lot, but it’s necessary to properly flush out any residual particles or air bubbles that could be present in the filter from manufacturing or packaging.
Step 8: Reset the Water Filter Indicator Light
Some Samsung refrigerators have a water filter indicator light that reminds you when to replace the water filter. After replacing the water filter, you will need to reset this light. Consult your refrigerator user manual or look online for instructions on how to do this.
Why You Need to Replace Your Water Filter Regularly
Changing your refrigerator’s water filter every six months is critical for a few different reasons. Over time, the filter in your fridge can accumulate bacteria, mold, and deposits that can affect the taste and safety of your water and ice. A worn-out filter can also fail to trap harmful contaminants effectively.
This semi-annual replacement schedule ensures that your water remains clean, your ice tastes fresh, and your refrigerator continues to run efficiently.
Additionally, regular filter changes can extend the life of your appliance by preventing sediment buildup in the water line that can damage your fridge over time.
So, not only does a fresh filter mean better-tasting water, but it’s also a simple way to maintain the health and longevity of your refrigerator.
And there you have it! By following these eight super easy steps, you can quickly replace the water filter in your Samsung refrigerator. Not only will this maintain the taste and quality of your drinking water, but it will also help your fridge run more efficiently.
Remember to replace your water filter every six months or as recommended by the manufacturer.

Apr. 09, 2024
How to Fix Whirlpool Stove F9 Code

Apr. 09, 2024
Fix Whirlpool Duet’s F20 Error Code

Apr. 09, 2024
Freezer Working But Not Fridge? 5 Fixes

Mar. 06, 2024
Speed Queen Washer Error Codes Explained

Mar. 06, 2024
7 Reasons Why Your KitchenAid Ice Maker Isn’t Working

Mar. 06, 2024
LG Oven F9 Error: Here’s How to Fix It

Feb. 05, 2024
How to Replace an LG Refrigerator Air Filter

Feb. 05, 2024
What Do Dryer Sheets Do?

Feb. 05, 2024
How to Cook Corn on the Cob in the Microwave

Jan. 03, 2024
Bosch Dishwasher Showing E24 Error Code? Here’s What To Do
800-277-5043Give us a call