

October 24, 2019
Refrigerator Repair
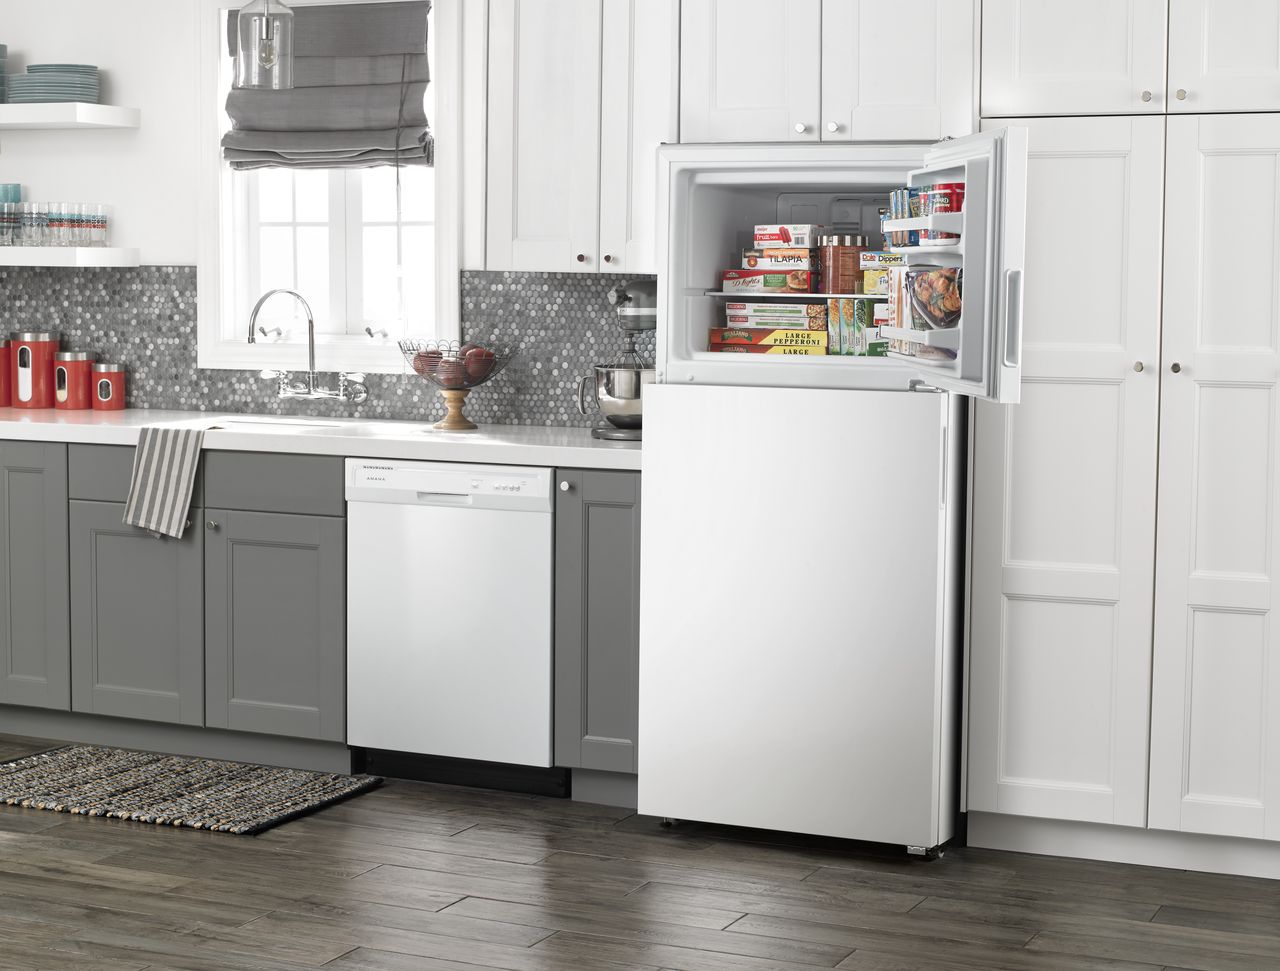
If you open up your refrigerator and find that the light is not working, your first instinct might be to change the light bulb. Generally speaking, usually, that is a great thing to check first, but it may not actually be the light bulb’s fault that the light isn’t working. In some cases, it could be the light switch in your refrigerator that isn’t functioning.
If you have tried changing the light bulb and tested the light socket for continuity with your multimeter, then the light switch is the last culprit. However, this part is pretty easy to change out. You will, however, want to unplug your refrigerator for your safety.
These steps can vary by model and brand, but for the average top freezer refrigerator design, see the following.
When it comes to changing the light switch, there are two ways to go about it. In some models, you might be able to pry and pop out the light switch with a putty knife or any other broad flat tool. However, you want to be very careful not to actually damage the shield while doing this.
If you don’t want to risk damaging the cover or your light switch looks like it can’t be pried out anyway, the safer method is to locate the screws that secure the cover over the light switch. This differs depending on the model and the location of the switch, but it is usually pretty intuitive.
Once you have access to the switch, all you have to do is remove the two-wire harnesses and pull the switch out. Some models may come with the switch mounted to a cover, in which you may need to unscrew this cover.
With your new light switch, start by attaching the wire harnesses and then you are free to mount the new light switch and reassemble. You can test the new light switch by simply plugging in the appliance then opening and closing the door.

Apr. 09, 2024
How to Fix Whirlpool Stove F9 Code

Apr. 09, 2024
Fix Whirlpool Duet’s F20 Error Code

Apr. 09, 2024
Freezer Working But Not Fridge? 5 Fixes

Mar. 06, 2024
Speed Queen Washer Error Codes Explained

Mar. 06, 2024
7 Reasons Why Your KitchenAid Ice Maker Isn’t Working

Mar. 06, 2024
LG Oven F9 Error: Here’s How to Fix It

Feb. 05, 2024
How to Replace an LG Refrigerator Air Filter

Feb. 05, 2024
What Do Dryer Sheets Do?

Feb. 05, 2024
How to Cook Corn on the Cob in the Microwave

Jan. 03, 2024
Bosch Dishwasher Showing E24 Error Code? Here’s What To Do
800-277-5043Give us a call