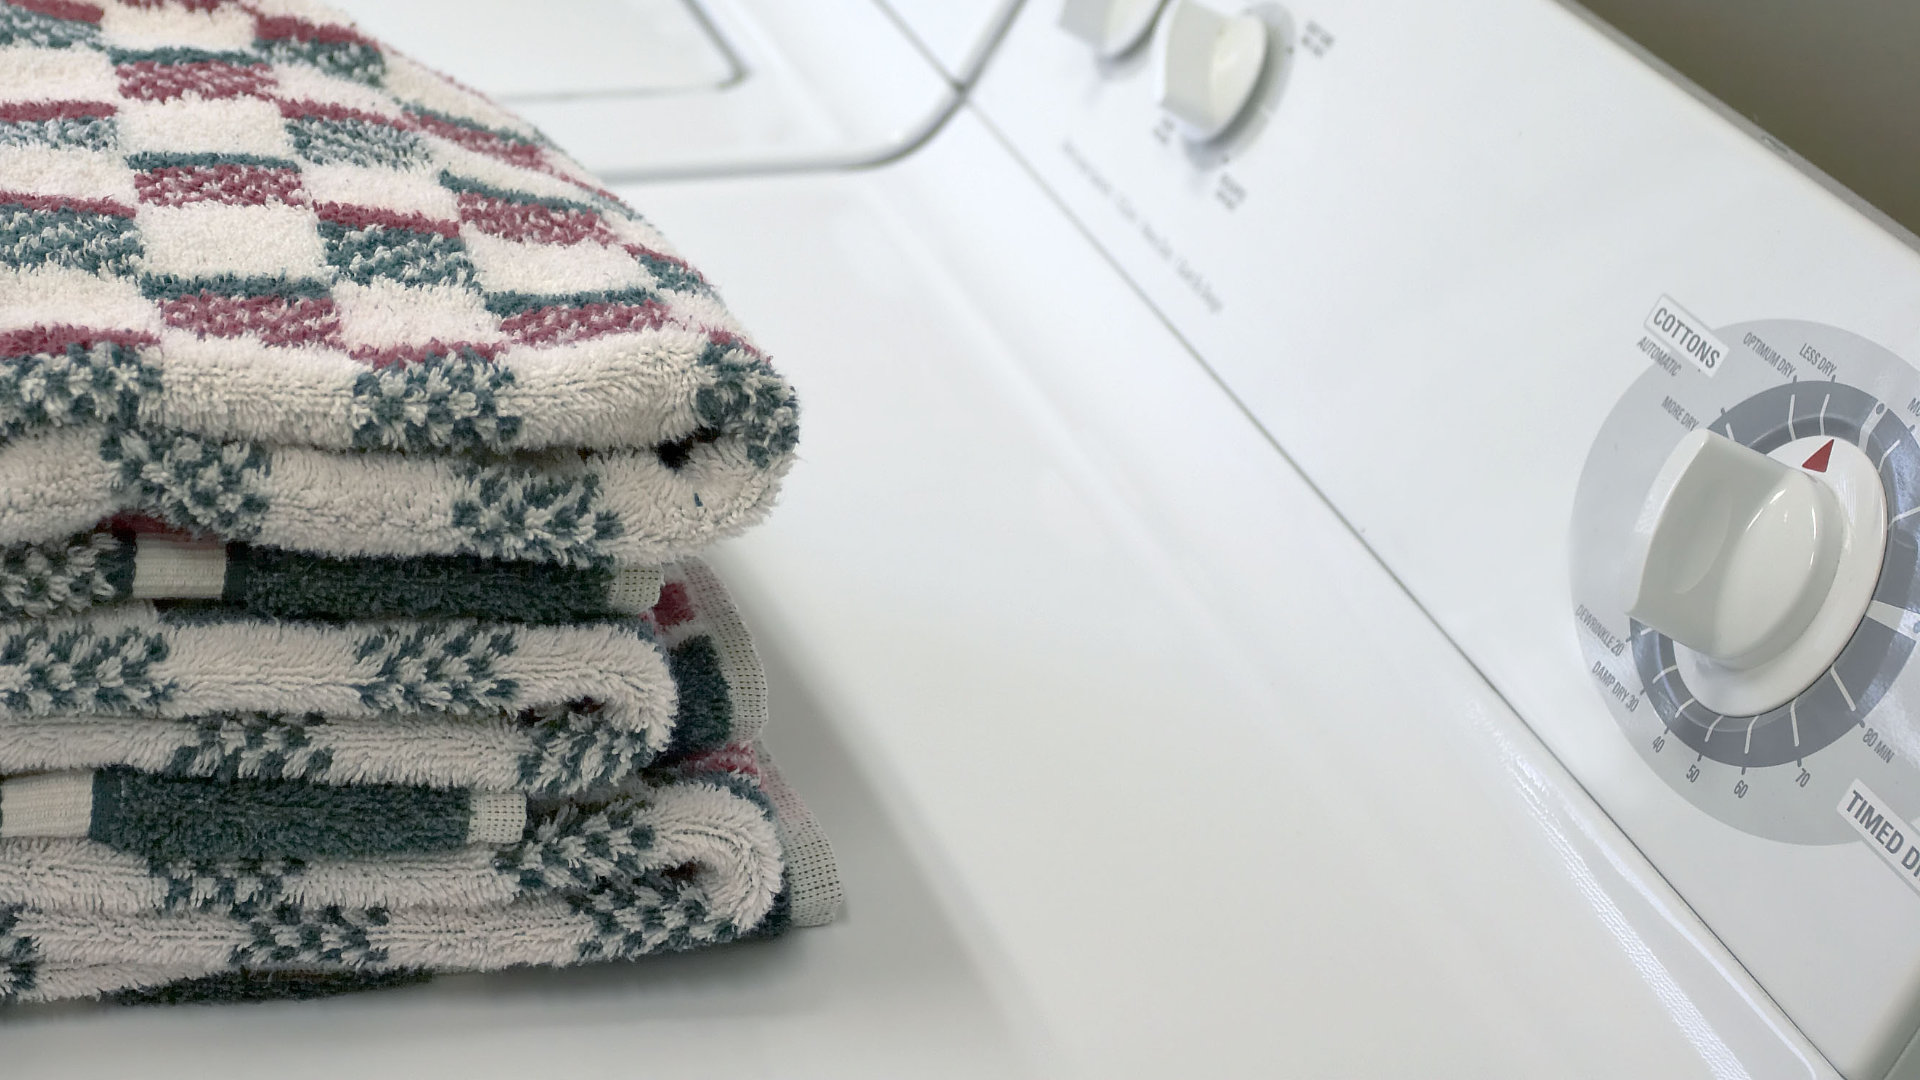
GE dryers are well-built and most consumers find that these dryers operate without any problems for a long time.
However, sometimes they can break down and need to be repaired. One common problem people have with their dryers is they won’t start. This can be caused by lots of reasons, which we have outlined in this guide.
Simply start with step 1 and work your way down the list until you have fixed your GE dryer.
This guide covers all major GE dryer models, including:
CADE165RAL
CADG265RAL
CADG265RBL
CADG265RCL
DBLR333ET0AA
DBLR333ET0WW
DBXR300EG3WS
DHDSR46EG8WW
GHDX100EM0WW
GTDP180ED2WW
GTDP180ED3WW
GTDP200EM0WW
GTDP200EM1WW
GTDP200EM2WW
GTDP220EF0WW
GTDP220EF1WW
GTDP220EF2WW
GTDX200EM0WW
GTDX200EM1WW
GTDX200EM2WW
GTDX205EM1CC
Step 1 – Make sure the power is working
If your GE Dryer won’t start, you first need to rule out if it’s being caused by a power supply problem.
Here’s how to check the power source:
- If your dryer won’t turn on at all, try plugging the power cord into another power socket. if your dryer works in a different socket the problem is with the original socket, which will need to be repaired or replaced.
- If the dryer still won’t turn on even when plugged into another socket, you need to check the circuit breaker and fuses. Go to your household fuse box and make sure the circuit breaker for the dryer is turned on. If it isn’t, turn it on and check if your dryer now starts.
- If the circuit breaker is on and the dryer won’t start, test the circuit with a multimeter. If the circuit is faulty, it will need to be repaired or replaced. If the power source is fine, proceed to step 2.
Step 2 – Make sure the thermal fuse hasn’t blown
The next step is to test the thermal fuse. The thermal fuse is important because it tells your dryer’s control board to turn off when your dryer overheats. Sometimes it can stop working or become faulty, which will stop your dryer from starting.
Here’s how to check the thermal fuse in your GE dryer:
- Unplug your dryer and pull it away from the wall.
- Remove the panels/casing from the dryer so you can access the internal components. This usually just involves removing a few screws at the back and then pulling the panels off.
- Locate the thermal fuse and use a multimeter to test it.
- If the fuse has continuity, it doesn’t need to be replaced and you can move on to step 3. If the fuse doesn’t have continuity, replace it. Before replacing it, clean the dryer vents to ensure the fuse doesn’t blow again.
- Once the new fuse is installed, plug your dryer in and check if it starts. If it doesn’t, proceed to step 3.
Step 3 – Check that the start switch is working
The start switch turns your dryer on when you put it onto a cycle. If it becomes faulty, your dryer might not start.
Here’s how to check the start switch in your GE dryer:
- Unplug your dryer and pull it away from the wall.
- Remove the panels/casing from the dryer so you can access the internal components.
- Locate the start switch and use a multimeter to test it.
- If the start switch has continuity, it doesn’t need to be replaced and you can move on to step 4. If the start switch doesn’t have continuity, replace it.
- Once the new start switch is installed, plug your dryer in and check if it now starts. If it doesn’t, proceed to step 4.
Step 4 – Check that the door switch is working
Another possible reason your GE dryer won’t start is if the door switch is defective. This particular switch monitors the door on your dryer to make sure it’s closed and then tells the control board it’s safe for your dryer to start.
Here’s how to check the door switch in your GE dryer:
- Unplug your dryer and pull it away from the wall.
- Remove the panels/casing from the dryer so you can access the internal components.
- Locate the door switch and use a multimeter to test it.
- If the door switch has continuity, it doesn’t need to be replaced and you can move on to step 5. If the door switch doesn’t have continuity, replace it.
- Once the new door switch is installed, plug your dryer in and check if it now starts. If it doesn’t, proceed to step 5.
Step 5 – Check that the drive motor is working
The next step is to check the drive motor to ensure it’s working properly. The drive motor provides the power to spin your dryer drum. If the drive motor stops working, your dryer won’t be able to start.
Here’s how to check the drive motor in your GE dryer:
- Unplug your dryer and pull it away from the wall.
- Remove the panels/casing from the dryer so you can access the internal components.
- Locate the drive motor and use a multimeter to test it.
- If the drive motor has continuity, it doesn’t need to be replaced and you can move on to step 6. If the drive motor doesn’t have continuity, replace it.
- Once the new drive motor is installed, plug your dryer in and check if it now starts. If it doesn’t, proceed to step 6.
Step 6 – Check that the drive belt is properly attached
If you’ve ruled out all the electrical components as being the cause of your GE dryer not starting, the next component to check is the drive belt. The drive belt goes around the dryer drum and helps guide and turn the drum when the dryer is in operation. Sometimes the drive belt snaps or slips out of place, which will stop your dryer from starting.
Here’s how to check the drive belt in your GE dryer:
- Unplug your dryer and pull it away from the wall.
- Remove the panels/casing from the dryer so you can access the internal components.
- Locate the drive belt. You’ll find it attached around the drum.
- Make sure the belt hasn’t snapped or hasn’t slipped from the drum.
- Next, check that the drum belt goes around the idler pulley properly.
- If the drum belt is broken or defective, it will need to be replaced. If the drive belt is fine, proceed to step 7.
- If you replace the drive belt, plug the dryer back in and check if it now starts. If it doesn’t, proceed to step 7.
Step 7 – Consider replacing the main control board
The final step is to consider replacing the main control board. The board is difficult to test and/or repair so your best option is to just replace it and see if your GE dryer starts working again. Alternatively, it may be a better bet to just buy a new dryer.
How to Fix Whirlpool Stove F9 Code
Fix Whirlpool Duet’s F20 Error Code

Freezer Working But Not Fridge? 5 Fixes

Speed Queen Washer Error Codes Explained
7 Reasons Why Your KitchenAid Ice Maker Isn’t Working
LG Oven F9 Error: Here’s How to Fix It

How to Replace an LG Refrigerator Air Filter

What Do Dryer Sheets Do?

How to Cook Corn on the Cob in the Microwave
