

July 20, 2023
Dryer Repair
A broken dryer belt is an inconvenient yet common occurrence in many households. The good news is that it’s possible to fix it yourself, quickly and easily. With the right tools and a little patience, you can have your dryer belt running smoothly again in no time.
What is a dryer belt?
A dryer belt is a crucial component of your dryer that connects the motor to the drum, allowing it to rotate and dry your clothes. Over time, the belt can become worn or even break, causing your dryer to stop working properly.
If you’re having issues with your dryer, it’s important to check the belt to see if it needs to be replaced. Some common signs that your dryer belt needs to be replaced include:
- Your dryer won’t turn on.
- Your dryer turns on, but won’t turn.
- The dryer belt is making loud noises.
- The dryer stops running before the clothes are dry.
How to fix a dryer belt the easy way
1. Preparing for the repair
Preparing for the repair is an essential step in fixing a dryer belt the easy way. Before you start, make sure to unplug your dryer. Remember, safety should always be the top priority when working with electrical appliances, so take the time to unplug the dryer and follow all safety precautions before getting started.
Before you start working on the belt, take a moment to clean the inside of the dryer, removing any lint or debris that may have accumulated. This will help ensure that your dryer runs smoothly once you’ve repaired it. By taking the time to prepare for the repair, you’ll be able to fix your dryer belt quickly and easily, without any unnecessary hiccups along the way.
2. Removing the exterior cover
One of the first steps to fixing a dryer belt is removing the exterior cover. This may seem daunting, but it’s actually a fairly simple process.
First, unplug the dryer and locate the screws that hold the cover in place. These are typically found at the back or on top of the dryer. Use a screwdriver to remove the screws and set them aside in a safe place.
Once the screws are all out, gently lift the cover off of the dryer. Be careful not to force it or pull too hard, as there may be wires or other components that are still connected.
With the cover off, you’ll have better access to the dryer belt and other parts that may need to be replaced or repaired. Remember to always follow safety precautions when working on any appliance, and if you’re unsure about any step of the process, consult a professional.
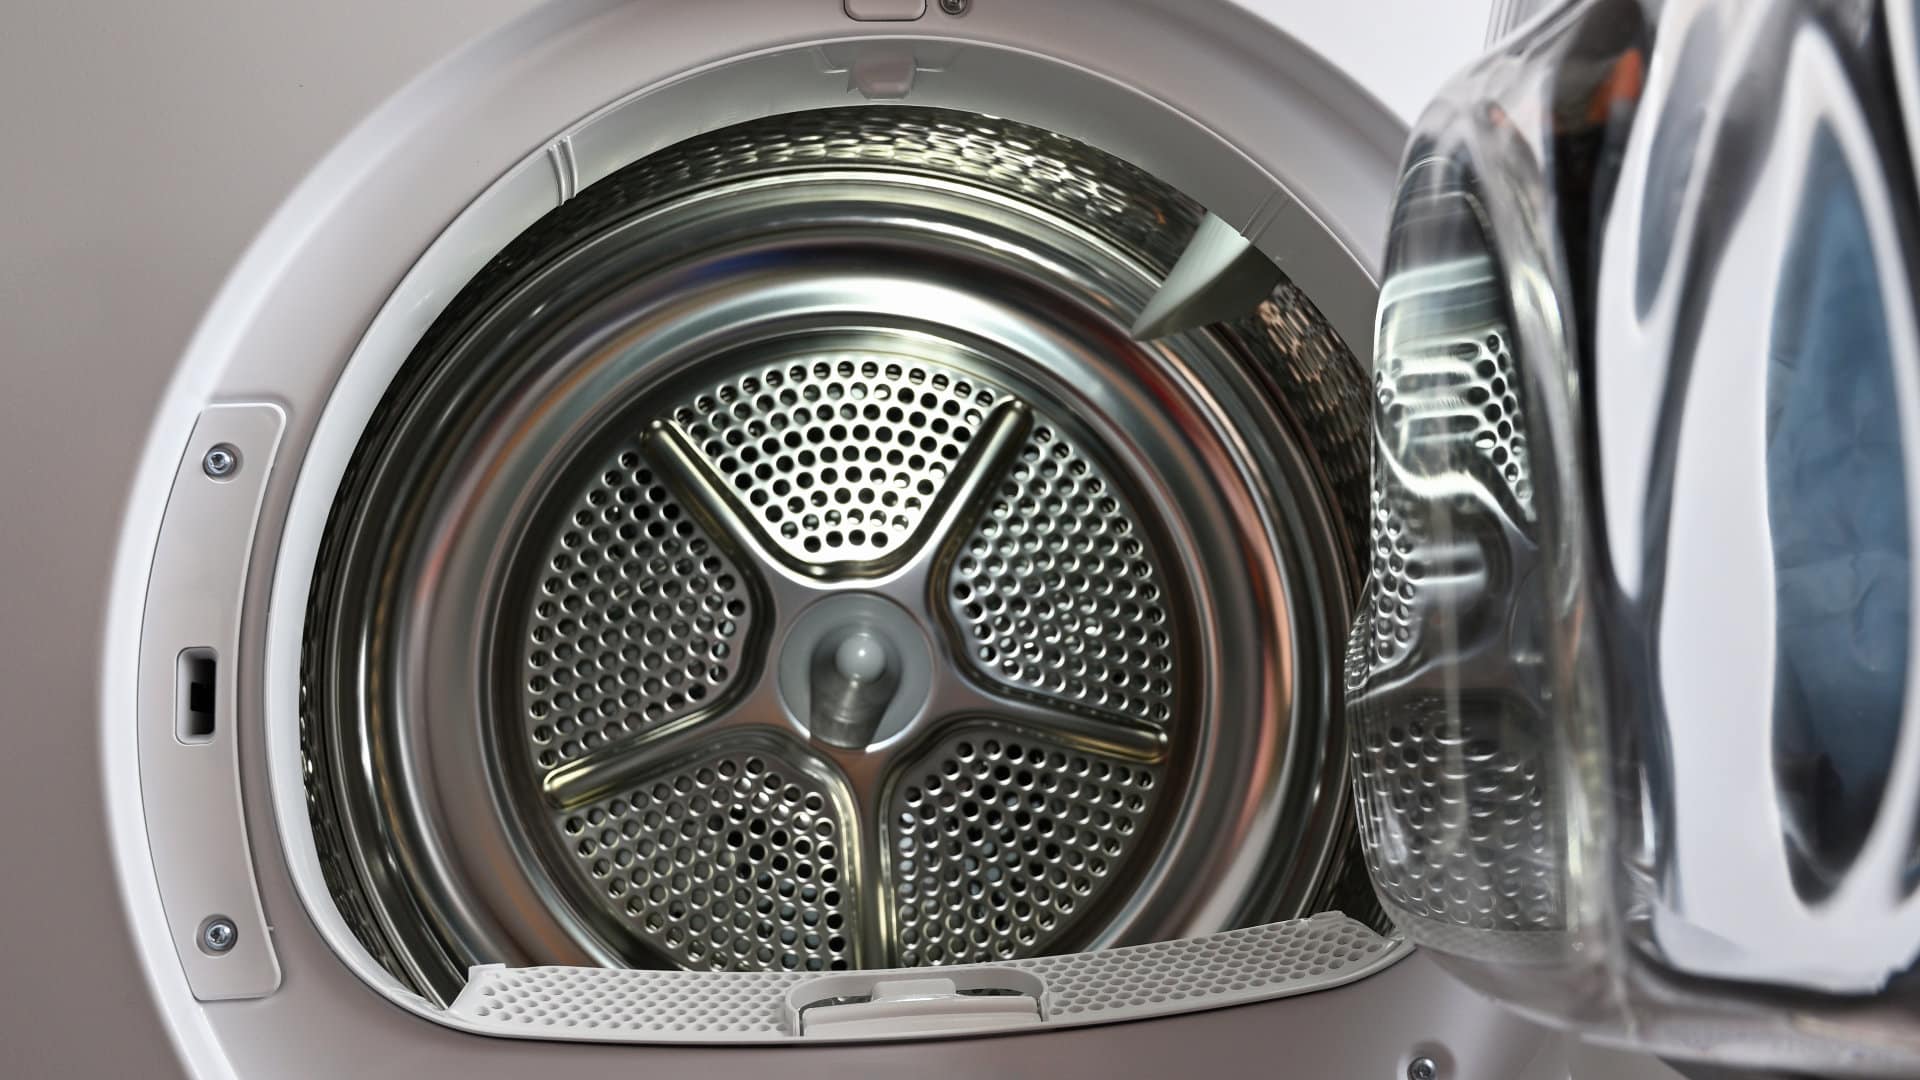
3. Locating and removing the old belt
Locate the old belt by looking for a thin, black rubber band that runs around the drum of the dryer. Once you’ve found it, use a pair of pliers to loosen the tension on the belt and remove it from the drum.
Be sure to take note of how the old belt was positioned so that you can properly install the new one. With the old belt removed, move on to installing the new one and getting your dryer up and running again.
4. Installing the new belt
Once you remove the old belt, it’s time to install the new one. Begin by placing the new belt around the drum, making sure it’s lined up with the old belt marks. Then, thread the belt through the idler pulley and around the motor pulley.
Finally, tighten the idler pulley to create tension on the belt. Once you’ve completed these steps, give the drum a spin to ensure the belt is properly aligned and tight. Congratulations, you’ve successfully installed a new dryer belt!
5. Reassembling the dryer
Once you have successfully replaced the dryer belt, it’s time to reassemble the dryer. Start by placing the drum back into the dryer and aligning it with the rear bearing. Then, reattach the front panel and secure it with screws or clips.
Next, reattach the top panel and secure it in place. Finally, reattach the control panel and any other components that you removed during the repair process. It’s important to make sure that you tighten all the screws and clips properly to avoid any potential hazards.
Once everything is reassembled, plug in the dryer and test it out to ensure it’s running smoothly. Remember, if you ever feel unsure about any step of the repair process, consult the manufacturer’s instructions or seek the help of a professional.
6. Testing the dryer
Once you have successfully fixed your dryer belt, you should test the dryer to ensure that it is working properly. Turn on the dryer and listen for any strange noises or vibrations. If you hear or feel anything unusual, turn off the dryer immediately and check to see if the belt is properly aligned and tightened.
You should also check to see if the drum is spinning properly and that the dryer is producing adequate heat. If the dryer isn’t producing enough heat, it may be a sign that the heating element needs to be replaced.
It’s also important to check the dryer vent to make sure it’s clear of any debris or blockages. A clogged vent can cause the dryer to overheat and potentially start a fire. Thoroughly testing your dryer after fixing the belt will ensure that it will keep running efficiently and safely.
The bottom line
Fixing a dryer belt doesn’t have to be a daunting task. With the right tools and a little bit of patience, you can easily replace a broken belt and get your dryer up and running in no time. Remember to always unplug your dryer before starting any repairs, and refer to your owner’s manual for specific instructions.
So, the next time your dryer belt breaks, don’t panic. Follow these simple steps and get your dryer back to working order in a flash.

Apr. 09, 2024
How to Fix Whirlpool Stove F9 Code

Apr. 09, 2024
Fix Whirlpool Duet’s F20 Error Code

Apr. 09, 2024
Freezer Working But Not Fridge? 5 Fixes

Mar. 06, 2024
Speed Queen Washer Error Codes Explained

Mar. 06, 2024
7 Reasons Why Your KitchenAid Ice Maker Isn’t Working

Mar. 06, 2024
LG Oven F9 Error: Here’s How to Fix It

Feb. 05, 2024
How to Replace an LG Refrigerator Air Filter

Feb. 05, 2024
What Do Dryer Sheets Do?

Feb. 05, 2024
How to Cook Corn on the Cob in the Microwave

Jan. 03, 2024
Bosch Dishwasher Showing E24 Error Code? Here’s What To Do
800-277-5043Give us a call