

June 11, 2018
Dishwasher Repair
If your dishwasher’s spray arm is too clogged or doesn’t spin, it’s time for a replacement. You should also replace the spray arm if the pop-up isn’t functioning correctly. Order replacement part WD22X10008 for GE model dishwashers. Then follow these steps.
1. Unplug the dishwasher and turn off the water supply.
Unplugging an appliance before you get to work should always be your first step, especially if the appliance uses water. Because you’re going to be dismantling part of the dishwasher, turn off the water supply to avoid leaks and interference.
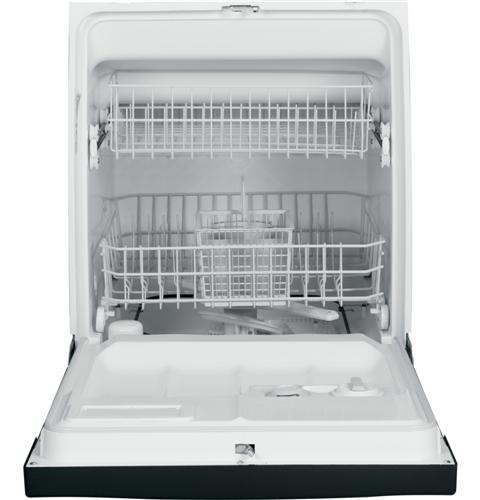
2. Access the spray arm.
Open the dishwasher door. For the best possible access, remove the lower dishwasher rack and set it aside. Your spray arm is in the middle of the machine’s floor.
3. Remove the old spray arm.
The spray arm is made up of the spinning arms and the central base. Grab the central base and start turning it counterclockwise. The spray arm may move freely as you loosen the part.
If your spray arm isn’t working because it’s clogged, then the base may also be difficult to remove because of buildup. Don’t be afraid to twist the base forcefully. If it still won’t turn, push a wide flathead screwdriver into the opening at the base and use the handle for additional leverage.
4. Install the new spray arm.
If you want, as an intermediary step between removing and installing the part, clean the buildup around the base of the machine. Food and limescale can accumulate in the crevices of your machine. With the lower rack removed and the spray arm out of the way, you have better access to the base of the interior.
Once you’re ready, position the new spray arm in the center of the machine’s interior floor and start turning the base clockwise. Tighten it until the part is secure and doesn’t wobble. Make sure the spray arm itself is level and can turn freely.
Then put the dish rack back in the machine and shut the door. Plug in the dishwasher and turn the water supply back on.
If you want to make more repairs to your major appliances, go to A to Z Appliance Repair for more step-by-step guides.

Apr. 09, 2024
How to Fix Whirlpool Stove F9 Code

Apr. 09, 2024
Fix Whirlpool Duet’s F20 Error Code

Apr. 09, 2024
Freezer Working But Not Fridge? 5 Fixes

Mar. 06, 2024
Speed Queen Washer Error Codes Explained

Mar. 06, 2024
7 Reasons Why Your KitchenAid Ice Maker Isn’t Working

Mar. 06, 2024
LG Oven F9 Error: Here’s How to Fix It

Feb. 05, 2024
How to Replace an LG Refrigerator Air Filter

Feb. 05, 2024
What Do Dryer Sheets Do?

Feb. 05, 2024
How to Cook Corn on the Cob in the Microwave

Jan. 03, 2024
Bosch Dishwasher Showing E24 Error Code? Here’s What To Do
800-277-5043Give us a call