

April 9, 2018
Oven Repair
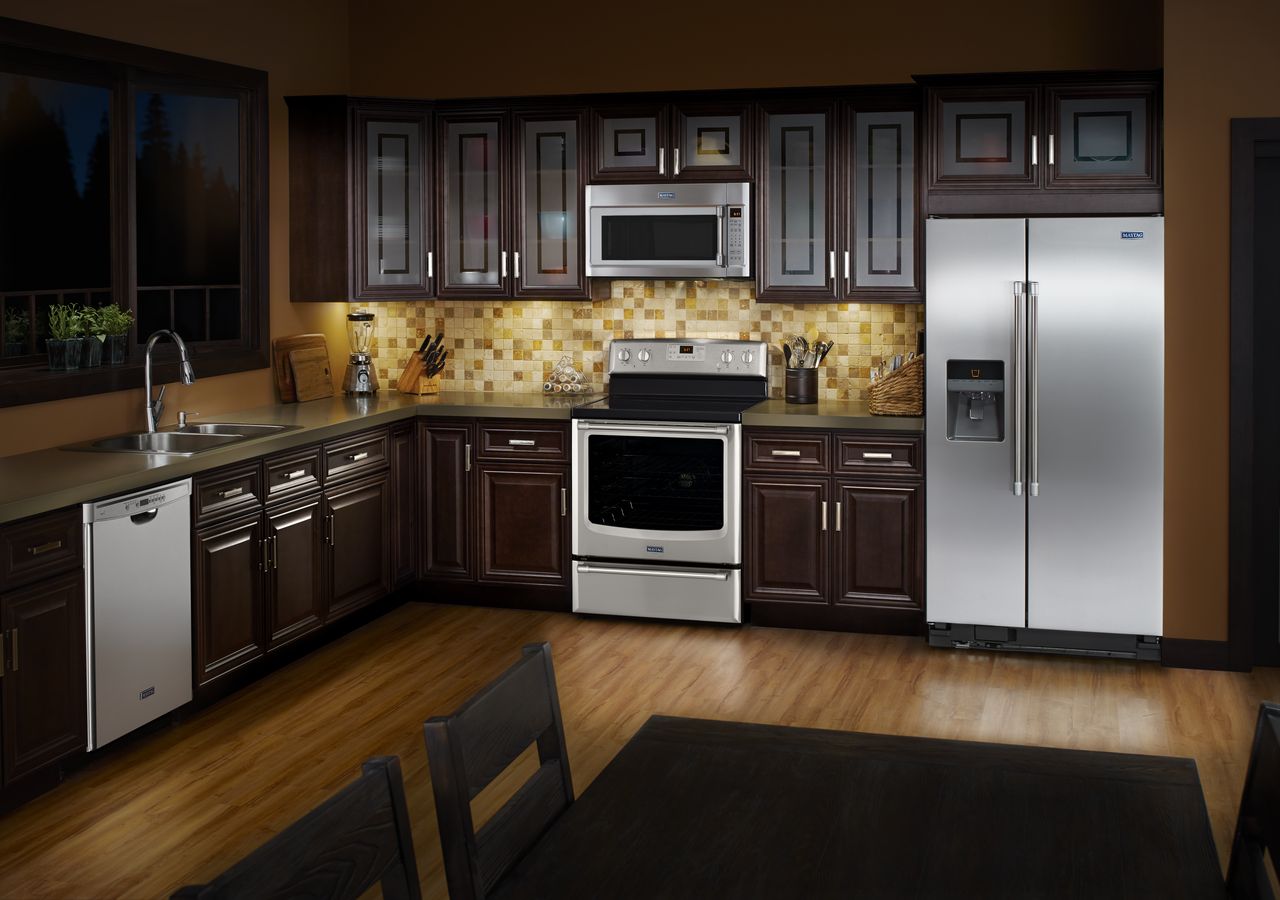
If your Maytag freestanding electric range (MER8700DS1) stays on continually, you may need to replace the safety thermostat.
The Maytag safety thermostat is designed to prevent your oven from overheating, such as if your mainboard relay is causing your element to stay on continuously and popping your safety valve, or if your elements bake or broil is shorted, causing it to stay on continuously. If this happens, the safety thermostat must be replaced.
Preparation
First, you will need to gather your tools, a #2 Philips screwdriver, needle nose pliers, and a voltmeter.
Before beginning any repair, remember to disconnect your appliance. It’s also recommended to test the outlet for the proper voltage.
Accessing the thermostat
First, you will need to gain access to the back of the stove so that you can remove the plates that cover the terminal block and the wiring. Begin by removing the two screws that hold in the bottom panel, then push down and pull out.
Next, remove the five screws holding the top plate in position, one by one. Be careful, as the metal is quite sharp. Before you remove the final screw, put pressure on the plate with the back of your arm so that it doesn’t fall. Then finish removing the screw, and carefully remove the plate.
Now that the back panel is removed, you have access to the safety thermostat, which is non-resettable. If it trips, it will need replacing.
Replacing the thermostat
First, using your pliers, remove the terminals that are on the thermostat. Then, test it with your voltmeter for continuity.
To replace your thermostat, move your wires to the side. Next, use your Philips screwdriver to remove the cavity screw (turn the screwdriver counterclockwise). When installing your safety thermostat, make sure that the screw is inserted into the thermostat, and tighten it in place (turn clockwise). Then reattach the corresponding wires.
Finishing up
To reinstall the back covers, start with the top panel, place it correctly and the middle will slide in. Put in the perimeter screws one by one and tighten them clockwise. To reinstall your bottom panel, there are two tabs that must be inserted into two slots of the oven. Align both sides into the designated slots, then slide the panel up and replace the screws by tightening them clockwise again. And that will complete your repair.

Apr. 09, 2024
How to Fix Whirlpool Stove F9 Code

Apr. 09, 2024
Fix Whirlpool Duet’s F20 Error Code

Apr. 09, 2024
Freezer Working But Not Fridge? 5 Fixes

Mar. 06, 2024
Speed Queen Washer Error Codes Explained

Mar. 06, 2024
7 Reasons Why Your KitchenAid Ice Maker Isn’t Working

Mar. 06, 2024
LG Oven F9 Error: Here’s How to Fix It

Feb. 05, 2024
How to Replace an LG Refrigerator Air Filter

Feb. 05, 2024
What Do Dryer Sheets Do?

Feb. 05, 2024
How to Cook Corn on the Cob in the Microwave

Jan. 03, 2024
Bosch Dishwasher Showing E24 Error Code? Here’s What To Do
800-277-5043Give us a call