

July 29, 2019
Refrigerator Repair
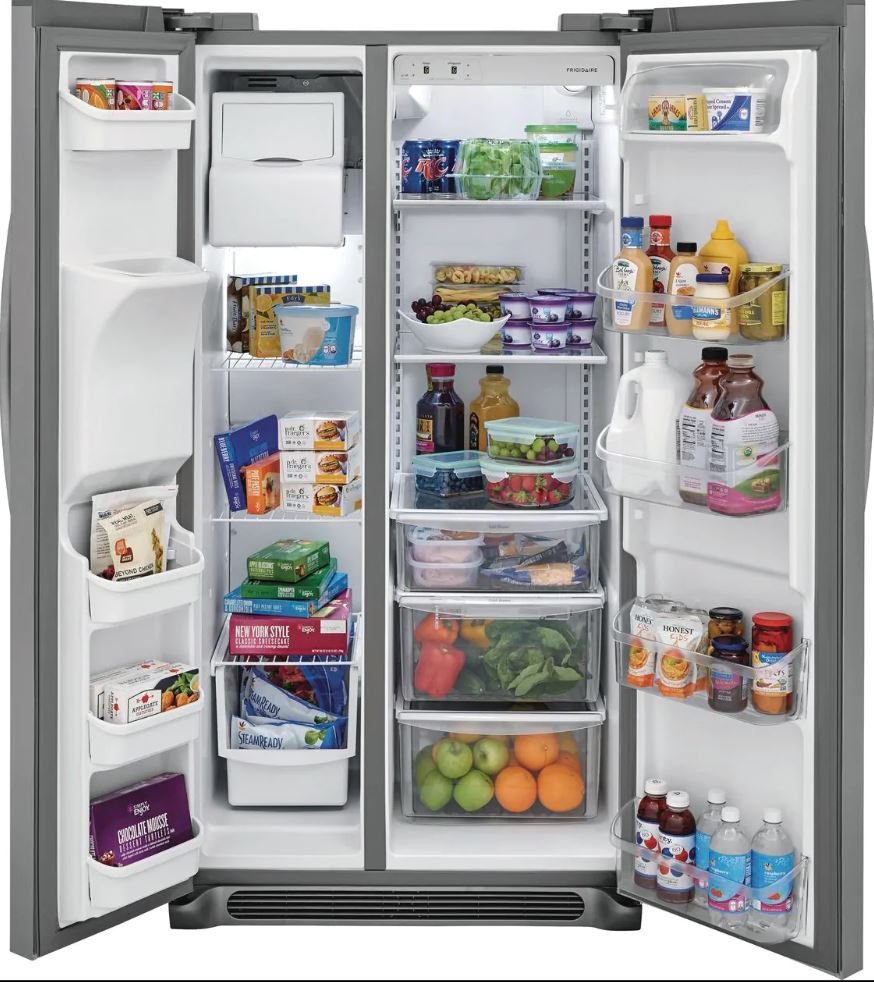
Your Frigidaire refrigerator comes with an electronic control panel that allows you to adjust various settings in the freezer and refrigerator compartments. This is handy when it comes to setting the exact temperature in your freezer and refrigerator compared to the old “Cold, Colder, Coldest” knobs that resulted in some trial and error when it comes to temperature adjustment. However, this control panel can also help you diagnose problems with your refrigerator. Unfortunately, in order to activate the diagnostic mode, you need to know which buttons to press and in which order to press them. This varies by model and the following will work for a FFHX2325.
Activating Diagnostic Mode on a Frigidaire Refrigerator
Start by holding down the Freezer Temperature Up button and the Freezer Temperature Down button at the same time. Now you will need to release the buttons and depress them both at the same time twice more. You only have a five-second period in which you can do this, so you need to move quickly and with precision. This will activate the diagnostic mode.
Once active, you can scroll through the options with the Freezer Temperature Up button. Once a service is selected, use the Fresh Food Temperature Up button to scroll through the options under your selected choice. This will allow you to accurately choose what option is best for the problem you are having with your refrigerator.
In order to exit diagnostic mode on your Frigidaire refrigerator, you will have to completely reset it. To do this, you will need to unplug your refrigerator from the power outlet for at least 30 seconds. Once you plug it back in, your refrigerator will have exited diagnostic mode. Unfortunately, even if you let the electronic display sit, it will remain in diagnostic mode until reset. This means that in order to resume normal function, you have to reset your refrigerator.

Apr. 09, 2024
How to Fix Whirlpool Stove F9 Code

Apr. 09, 2024
Fix Whirlpool Duet’s F20 Error Code

Apr. 09, 2024
Freezer Working But Not Fridge? 5 Fixes

Mar. 06, 2024
Speed Queen Washer Error Codes Explained

Mar. 06, 2024
7 Reasons Why Your KitchenAid Ice Maker Isn’t Working

Mar. 06, 2024
LG Oven F9 Error: Here’s How to Fix It

Feb. 05, 2024
How to Replace an LG Refrigerator Air Filter

Feb. 05, 2024
What Do Dryer Sheets Do?

Feb. 05, 2024
How to Cook Corn on the Cob in the Microwave

Jan. 03, 2024
Bosch Dishwasher Showing E24 Error Code? Here’s What To Do
800-277-5043Give us a call