January 6, 2020
Dishwasher Repair
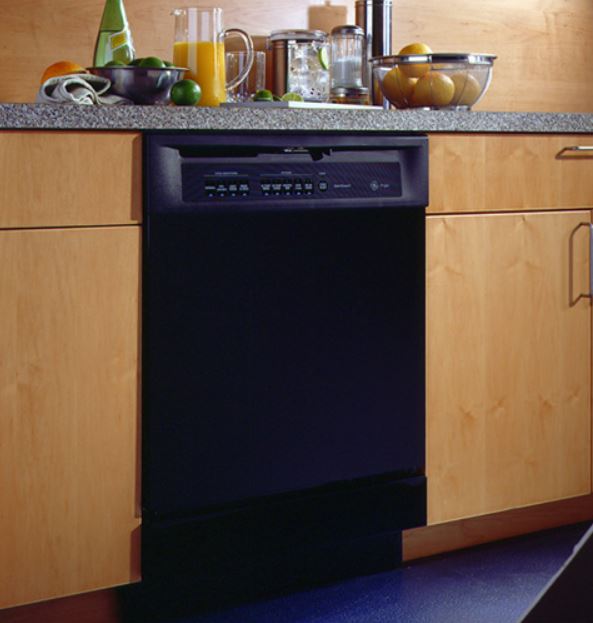
The drain hose assembly in your GE dishwasher model GSD4020ZBB includes a check valve. The check valve stops wastewater from re-entering your dishwasher through the drain hose. If the water in your dishwasher is draining, but then backs up once the drain pump turns off, you are most likely dealing with a faulty check valve. Replacing the check valve in your GE dishwasher is a fast and easy do-it-yourself repair.
Safety First
- Before you start repairing your dishwasher, make sure you either unplug the appliance from the wall or switch it off at your home’s circuit breaker.
- Locate your dishwasher’s water supply, which is usually found underneath your kitchen sink and turn it off.
- Protect your hands and eyes by wearing work gloves and safety goggles as you replace your dishwasher’s check valve.
- If you begin to feel as though you cannot safely perform the repair, please stop what you’re doing and contact an appliance repair technician.
How to Replace the Check Valve in Your GE Dishwasher
- Open your dishwasher door and pull out the lower dish rack.
- With the dish rack out of the way, you now have access to the rear filter assembly at the back of your appliance. To reach the check valve, use a quarter-inch nut driver to unthread the screws holding the filter assembly to the floor of your dishwasher. Once the screws are out, uncover the check valve by removing the rear filter assembly.
- Using a pair of needle-nose pliers, rotate the check valve counterclockwise to loosen it. Once it turns without any resistance, you can put the pliers down and use your hand to finish unthreading the part.
- After you have removed the damaged check valve from your dishwasher, grab the new valve and insert the part into the opening at the back of your appliance. Then, rotate the check valve clockwise to install the part. You may want to use your needle nose pliers to ensure the check valve is properly secured; otherwise, the seal created by the valve may fail causing water to once again flow back into your dishwasher.
- Now that the new check valve is properly installed, you can place the rear filter assembly back into your appliance and secure it with the screws you removed earlier.
- To finish up your repair, replace the lower dish rack and close the appliance door. Then, plug-in your appliance and turn on its water supply.
If your dishwasher continues to have draining issues, please contact us today, and we’ll have one of our highly trained appliance repair technicians diagnose and fix the underlying issue.
Apr. 09, 2024
How to Fix Whirlpool Stove F9 Code
Apr. 09, 2024
Fix Whirlpool Duet’s F20 Error Code

Apr. 09, 2024
Freezer Working But Not Fridge? 5 Fixes

Mar. 06, 2024
Speed Queen Washer Error Codes Explained
Mar. 06, 2024
7 Reasons Why Your KitchenAid Ice Maker Isn’t Working
Mar. 06, 2024
LG Oven F9 Error: Here’s How to Fix It
Feb. 05, 2024
How to Replace an LG Refrigerator Air Filter
Feb. 05, 2024
What Do Dryer Sheets Do?

Feb. 05, 2024
How to Cook Corn on the Cob in the Microwave
Jan. 03, 2024
Bosch Dishwasher Showing E24 Error Code? Here’s What To Do
800-277-5043Give us a call

