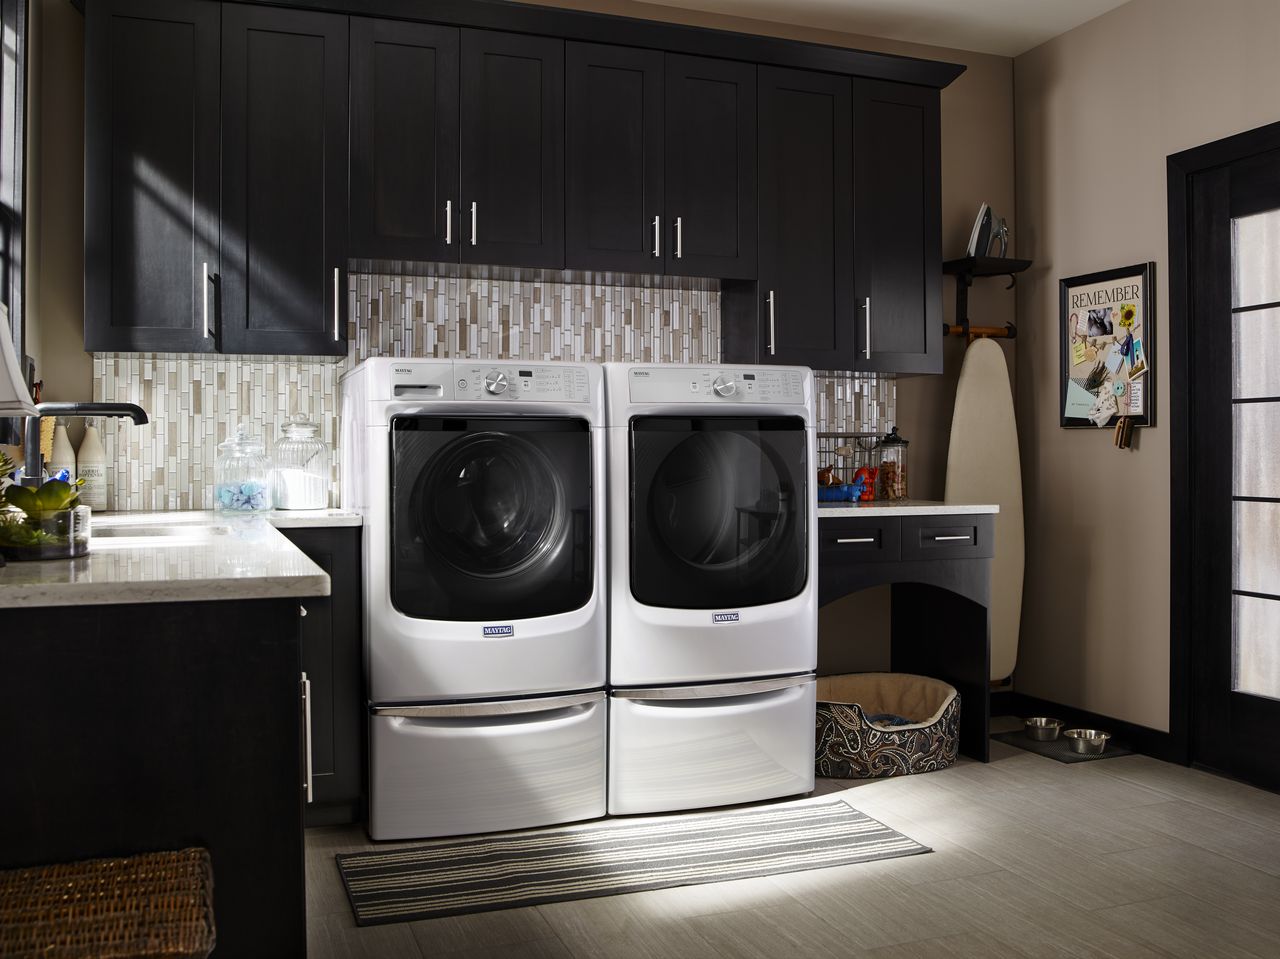
If you own a Maytag Front Load Washer Model MHW5500FW0 and your washer is reporting the error code FSE1, you need to replace your Door Latch Assembly. The replacement part no. is WPW10443885. The following instructions will walk you through the necessary steps.
For this repair, you will need a small flat blade screwdriver, a T20 Torx driver, a rubber ended clamp, and a pair of needle-nose pliers. The clamp referred to is the type used in carpentry and other tasks; it is like a large clothespin with rubber tips that come together. A headlamp and a pair of forceps could also be helpful. And as with any repair, pay close attention to the placement of parts and steps for removing the malfunctioning part, as you will need to put everything back in place for the appliance to operate.
Removal
1. Always start any appliance repair by unplugging the unit from the wall outlet. And don’t forget to turn off the water source to the washer.
2. Open the door to the washer.
3. Detach the bellows spring clamp and the bellows. Pay close attention to the grooves that the bellows and spring clamp will be reassembled in
- Use a small flathead screwdriver to pry the spring clamp away from the top of the washer opening.
- Peel the circular spring clamp out of its groove in the washer opening and set it aside.
- Position the right (door latch) side of the large inner bellows away from the door latch area making room to work on the latch. Prop it in place with something like a plier
4. Remove the T20 screws at the top and bottom of the door latch. These screws hold the assembly in place.5. Disconnect and remove the door latch assembly
- Note the position and connectors on the new latch assembly before removing either from the existing assembly. There is a large connector on the right side and a smaller connector on the left side
- Remove the right side, larger connector from the existing assembly first. A forceps can provide extra tugging strength if the connector is stubborn.
- Remove the left side smaller connector from the existing assembly. To remove this connector it is necessary to pull back on the connector tab, then upwards. Again, a forceps is helpful.
Installation and Reassembly
1. Install the new Door Latch Assembly
- Connect the small connector, then the large connector to the new assembly.
- Position the new assembly inside the washer body
- Insert and tighten the two Torx T20 screws
2. Replace bellows and spring
- The bellows needs to be gently pulled back into its groove in the front of the washer body so it seats into place
- The circular spring clamp can be tricky to reinstall start by clamping the top left side into its groove with the rubber carpentry clamp.
- With the top left side of the spring held into its grove, use the needle-nose pliers to gently pull the other side of the spring towards the right. While doing so, use a fingernail to work the spring clamp back into its groove.
3. Once the spring is back in place, the unit is reassembled. Don’t forget to turn the water on and plug it back into the wall outlet.
If you need assistance with this or any other appliance repair, schedule a visit online or call (937) 878-8271. A to Z Appliance Repair serves greater Dayton and Cincinnati, OH area.
How to Fix Whirlpool Stove F9 Code
Fix Whirlpool Duet’s F20 Error Code

Freezer Working But Not Fridge? 5 Fixes

Speed Queen Washer Error Codes Explained
7 Reasons Why Your KitchenAid Ice Maker Isn’t Working
LG Oven F9 Error: Here’s How to Fix It
How to Replace an LG Refrigerator Air Filter
What Do Dryer Sheets Do?

How to Cook Corn on the Cob in the Microwave
