

July 16, 2018
Washer Repair
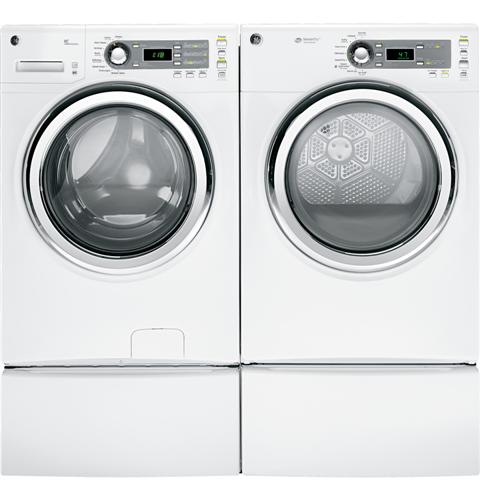
Are you dealing with a front load GE washer model GFWH1400DWW that won’t fill with water? If you are, you’ve come to the right place. A defective water inlet valve is often the cause of a non-filling washing machine. The water inlet valve on your appliance receives electrical signals which tell the part when to begin filling your washer with water. When a malfunction occurs the inlet valve may not react to the signal appropriately, meaning it will not allow water to enter your appliance. To help you replace the inlet valve, we’ve created a step-by-step repair guide.
How to Replace the Water Inlet Valve in a GE Washer
Before starting the repair, disconnect the washer from its power source and turn off the water supply running to your appliance. Always wear safety goggles and work gloves to protect yourself from injury.
-
Move the washer away from the wall and disconnect the inlet fill hoses from the water inlet valve. Have a container ready to catch any water that may spill out.
-
Using a Phillips screwdriver, remove the three screws on the back of the control panel console. Once you’ve taken out the screws, carefully pull off the back cover of the console. Do not force the cover off, or you may end up breaking the clips that hold the part in place.
-
Once again using your Phillips screwdriver, unthread the three screws on the back of your washer’s top panel.
-
To remove the top panel, from the back pull it towards you about an inch and lift it up from the cabinet.
-
Now that you can see inside your washer, find the water inlet valve and disconnect the wires from its terminals. Pay close attention to the colors of the wires and which terminal they connect to.
-
On the outside of the cabinet, remove the single screw which holds the water valve in place. Move the valve slightly to the right and push it out of the opening to detach it from the back of the panel.
-
Use slip-joint pliers to disengage the clamp securing the outlet hose to the valve. Slide the clamp down onto the hose and detach the inlet valve from the outlet hose.
-
To begin the installation of your new water inlet valve, insert the valve into the hose. Using your pliers, slide the clamp you removed earlier back into place.
-
Push the water valve into the holes on the back panel of your washer. Slide the valve slightly to the left before reinstalling the screw to secure the part.
-
Connect the wires to the new inlet valve.
-
Finally, you can reattach the top of your front load washer. Reinstall the three screws you removed from the back of your washer’s top panel. Next, snap the back of the console into place and reattach the last three screws.
-
Reconnect your fill hose, turn the water back on, and plug-in your appliance. Now your repair is complete.
If you have any questions regarding your GE washer or you need to schedule a repair, please contact us today and we’ll be happy to help you and your appliance.

Apr. 09, 2024
How to Fix Whirlpool Stove F9 Code

Apr. 09, 2024
Fix Whirlpool Duet’s F20 Error Code

Apr. 09, 2024
Freezer Working But Not Fridge? 5 Fixes

Mar. 06, 2024
Speed Queen Washer Error Codes Explained

Mar. 06, 2024
7 Reasons Why Your KitchenAid Ice Maker Isn’t Working

Mar. 06, 2024
LG Oven F9 Error: Here’s How to Fix It

Feb. 05, 2024
How to Replace an LG Refrigerator Air Filter

Feb. 05, 2024
What Do Dryer Sheets Do?

Feb. 05, 2024
How to Cook Corn on the Cob in the Microwave

Jan. 03, 2024
Bosch Dishwasher Showing E24 Error Code? Here’s What To Do
800-277-5043Give us a call