

June 21, 2018
Washer Repair
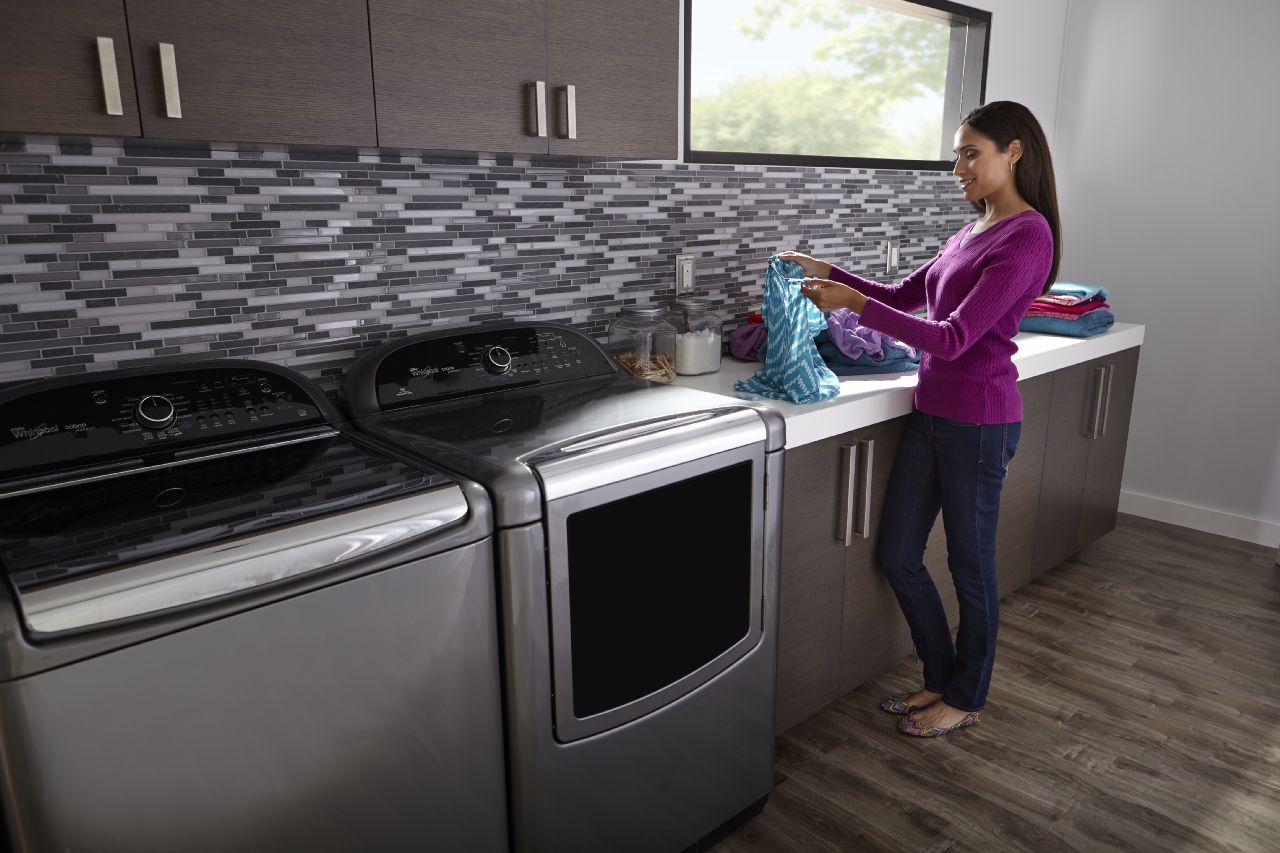
Your washing machine’s thrust bearing kit handles a lot of force. If the washer doesn’t agitate or drain properly, or the machine is making a lot of noise, the thrust bearing kit may need to be replaced. Order replacement part 12002213 for Whirlpool washing machines and then follow this step-by-step guide to replace the broken part.
1. Unplug the washing machine.
This is an important first step for any appliance repair. Because this repair involves tilting the whole machine at an angle, you don’t want power getting to it in the middle of the repair.
2. Access the bottom drive shaft.
Tilt the machine back at an angle. Secure it against a ladder or sturdy holding point so it won’t slip and fall. The drive shaft and thrust bearing assembly are uncovered on the bottom of the machine, so you can start removing parts immediately once you have access.
Remove the belt on top of the kit by turning the pulley system counterclockwise and gradually working the drive belt off the track.
3. Remove the old assembly.
The assembly is located in the middle of the bottom. Use a flathead screwdriver to remove the parts in this order:
- the E-clip around the center shaft,
- the metal washer,
- the plastic cam assembly,
- the transmission pulley, which is the large pulley the belt ran around, and
- the bearing assembly and spacer washers behind the pulley.
Once everything has been removed, clean the area to remove dust, dirt, and old grease.
4. Install the new kit.
Install the new layers of the thrust bearing assembly kit in this order:
- the plastic collar and roller bearing. Connect these two parts before slipping them over the shaft with the collar facing out.
- the plastic cam and assembly pulley. Again, connect these two parts according to the instructions before installing them in the machine.
- the thrust washer,
- the E-clip, and
- the dust cap.
The kit will come with two thrust washers, each one with a different thickness. Before you install the dust cap, you will need to manually rotate the assembly to make sure the parts have the correct clearance. If they don’t, replace the thrust washer with the second one. The best practice is to test the thin washer first.
5. Reassemble the machine.
Reattach the belt over the motor and pump pulleys. Next, work the belt over the transmission pulley by turning it clockwise. Then set the machine upright and plug it back in.
For more repair guides and ways to fix your appliances, go to A to Z Appliance Repair.

Apr. 09, 2024
How to Fix Whirlpool Stove F9 Code

Apr. 09, 2024
Fix Whirlpool Duet’s F20 Error Code

Apr. 09, 2024
Freezer Working But Not Fridge? 5 Fixes

Mar. 06, 2024
Speed Queen Washer Error Codes Explained

Mar. 06, 2024
7 Reasons Why Your KitchenAid Ice Maker Isn’t Working

Mar. 06, 2024
LG Oven F9 Error: Here’s How to Fix It

Feb. 05, 2024
How to Replace an LG Refrigerator Air Filter

Feb. 05, 2024
What Do Dryer Sheets Do?

Feb. 05, 2024
How to Cook Corn on the Cob in the Microwave

Jan. 03, 2024
Bosch Dishwasher Showing E24 Error Code? Here’s What To Do
800-277-5043Give us a call