

January 10, 2023
Refrigerator Repair
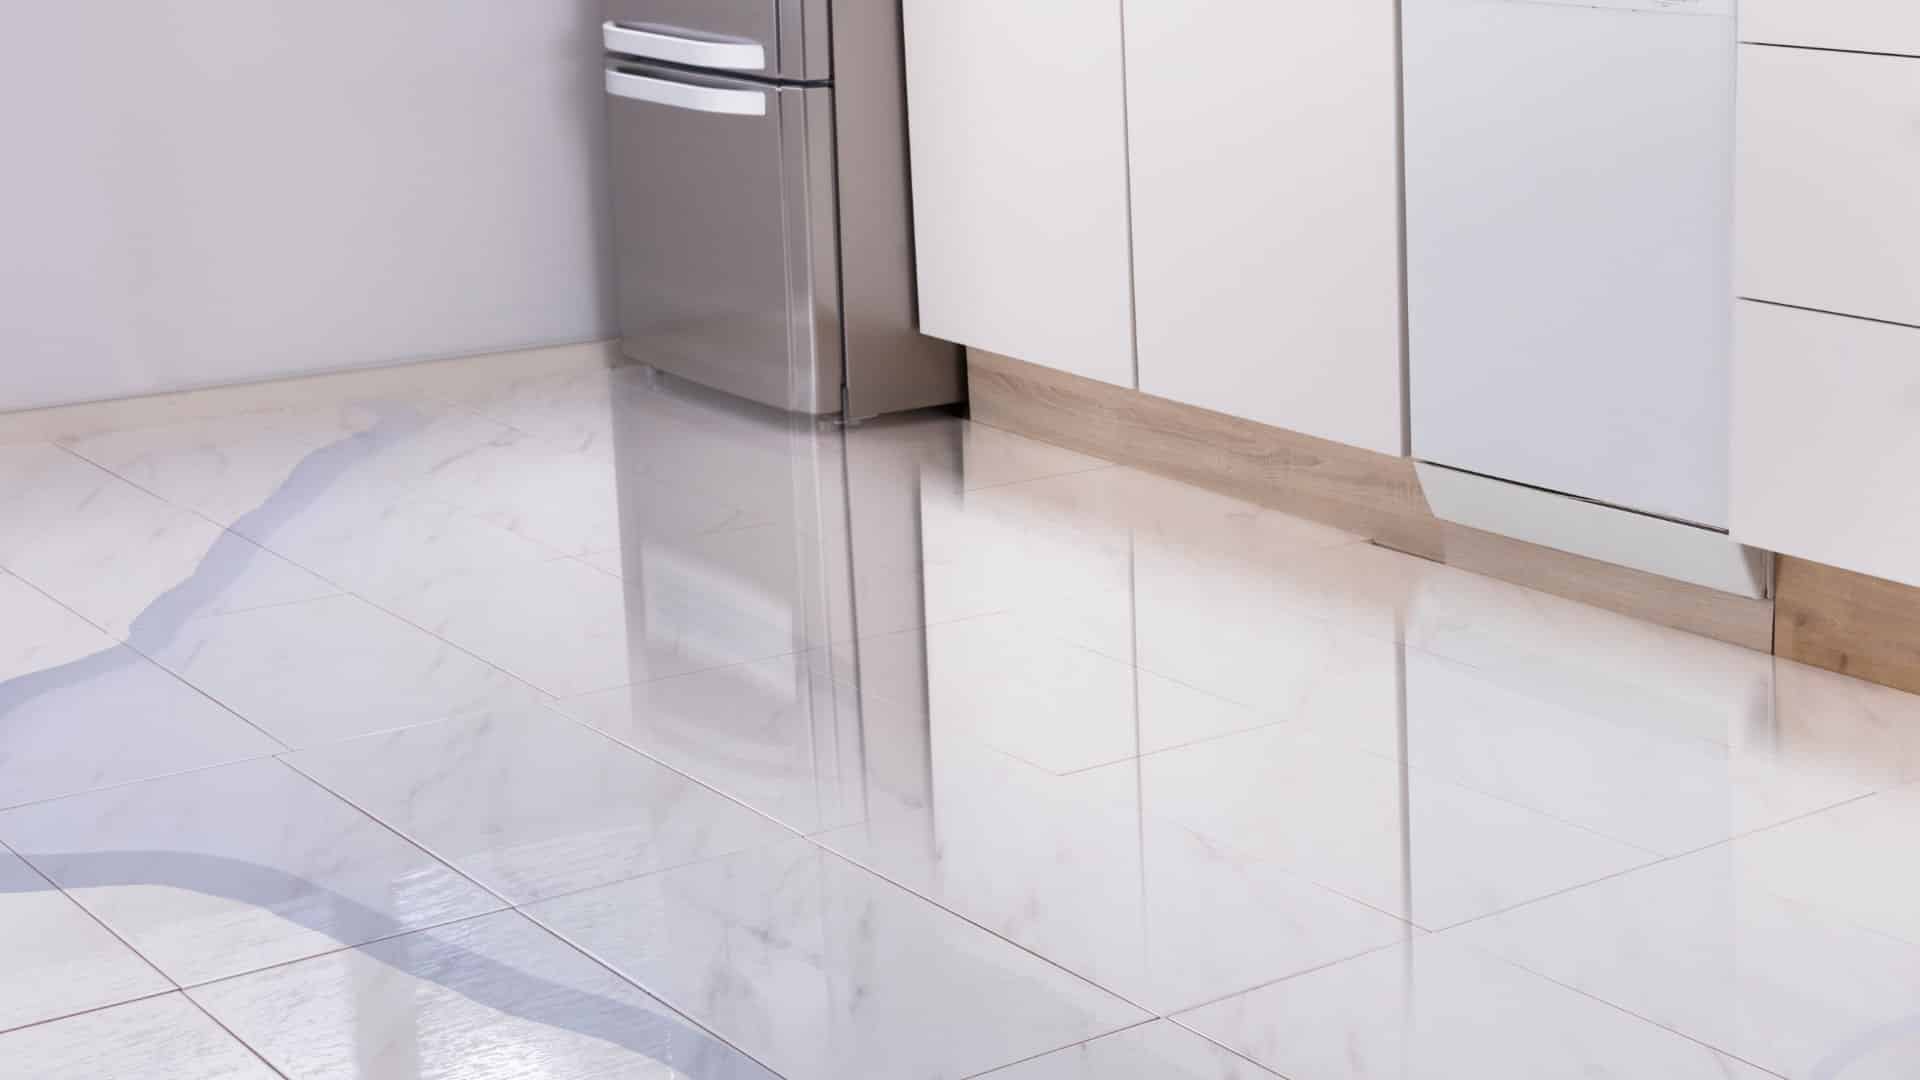
Do you have a refrigerator that’s leaking water? Fixing a leaky fridge is not as complicated or as expensive as it sounds. This blog post will explain what to look for and how to fix a leaking refrigerator with simple maintenance tips that can save time and money. We’ll show you how to diagnose the cause of your refrigerator leaks, identify potential problem areas, and guide you through some easy-to-follow repair steps.
So, whether your fridge is dripping from the freezer section or leaking puddles around its base – don’t worry!
Where’s the water?
The first step is to figure out where the water is coming from. Open the refrigerator. Is there water on the bottom shelves? Does it spill out when you open a bottom drawer? If yes, then the leak is probably inside. If the water is puddling around the base, but the inside is dry, the culprit is probably somewhere along the outside of the fridge.
Is the fridge tilted?
Refrigerators don’t need to be perfectly level – in fact, they should actually have a slight backward tilt. This is necessary for the coolant to flow properly and for water to drain correctly into the drip pan. It’s important to ensure that the refrigerator remains tilted backward slightly by using a spirit level or other device to measure it and make adjustments as needed.
You can adjust your refrigerator by removing the kick plate to access the front legs. The legs can be adjusted using a crescent wrench. Turn counterclockwise to raise the fridge and clockwise to lower it. Check your progress with a spirit level. The back of the refrigerator should be 1/4″ to 1/2″ closer to the floor than the front.
Additionally, make sure there is enough space around the back of the fridge for proper ventilation and airflow.
Check the drain pan
The drain pan of a refrigerator is designed to collect any water that is produced by the cooling process. It’s important to check this regularly, as leaks or cracks can signify an issue with the cooling system. To check it for leaks:
- Remove the kick plate or grille at the bottom of the front of the refrigerator.
- Locate the large, flat pan at the bottom of the fridge.
- Gently pull out the pan. It may contain water, so have a towel ready.
- Look for any excess water or any visible damage to the drain pan itself. The pan should be about 1/3 full at the most.
If you see any leaks or cracks, it is important to replace the drain pan in order to avoid further water damage and maintain the efficiency of your fridge.
Check the defrost drain
The defrost drain of a freezer is responsible for removing any humid air by the defrosting cycle. It works by taking the water and draining it down into the drip pan at the bottom of the fridge. However, if this drain becomes blocked due to debris or food particles or ice, it can lead to water buildup and result in poor cooling performance or even leaking water.
To avoid this issue, it’s important to keep the drain pipe clean and free from any large particles that may be blocking it.
Locate the defrost drain at the back of your freezer and carefully inspect it to ensure that no frozen food items have been placed over it. If any have, remove them.
Allow a day or two for this change to take effect; if puddles are still present after this time, you may need to unblock the drain:
- Unplug your fridge and empty out the freezer, being sure to store all food items in a cooler while you’re working.
- Next, find the defrost drain and remove its cap – this will allow you access to see what could be blocking it.
- Use a turkey baster filled with warm water to squirt down the defrost drain and try to unclog anything that may potentially be blocking it, such as food particles or mold growths.
This should resolve your issue, but if not, plug your refrigerator back in and wait for new puddles of water in order to further investigate what’s causing them.
If no water is coming from the defrost drain even after completing these steps, there is likely still something clogging it up, which needs manual removal:
- Unplug your refrigerator again and pull it away from the wall before assessing what could be blocking its defrost line (the line running from your freezer down to the underside of your fridge).
- Fill a bowl with warm water and use either a pipe cleaner or bottle brush (whichever fits better) to unclog it manually.
Check the water line
To check your refrigerator’s water line for damage, leaks, or a disconnection, start by unplugging the power source for the fridge and finding the access point for the water line, usually behind the refrigerator. You will need to move the refrigerator away from the wall to do this.
Once you have located it, inspect it visually for any obvious signs of wear and tear, such as cracks in the plastic tubing. If there is any visible damage, it may be necessary to replace the water line entirely.
While you can replace the water line yourself, it is recommended that a professional do it, since doing it incorrectly can damage your refrigerator. However, if you are confident in your plumbing skills, do the following:
- Turn off the water to stop any more leaking.
- Carefully disconnect the existing water line from both ends and install a new one using a crescent wrench to ensure a secure connection.
- Make sure the new one is not kinked or pinched.
- Plug the refrigerator back in.
- Carefully position the refrigerator back against the wall.
Summary
And there you have it. With these easy steps, you should have your fridge back in working condition in no time. If you have trouble or need further assistance, don’t hesitate to call a professional.

Apr. 09, 2024
How to Fix Whirlpool Stove F9 Code

Apr. 09, 2024
Fix Whirlpool Duet’s F20 Error Code

Apr. 09, 2024
Freezer Working But Not Fridge? 5 Fixes

Mar. 06, 2024
Speed Queen Washer Error Codes Explained

Mar. 06, 2024
7 Reasons Why Your KitchenAid Ice Maker Isn’t Working

Mar. 06, 2024
LG Oven F9 Error: Here’s How to Fix It

Feb. 05, 2024
How to Replace an LG Refrigerator Air Filter

Feb. 05, 2024
What Do Dryer Sheets Do?

Feb. 05, 2024
How to Cook Corn on the Cob in the Microwave

Jan. 03, 2024
Bosch Dishwasher Showing E24 Error Code? Here’s What To Do
800-277-5043Give us a call