

July 20, 2018
Refrigerator Repair
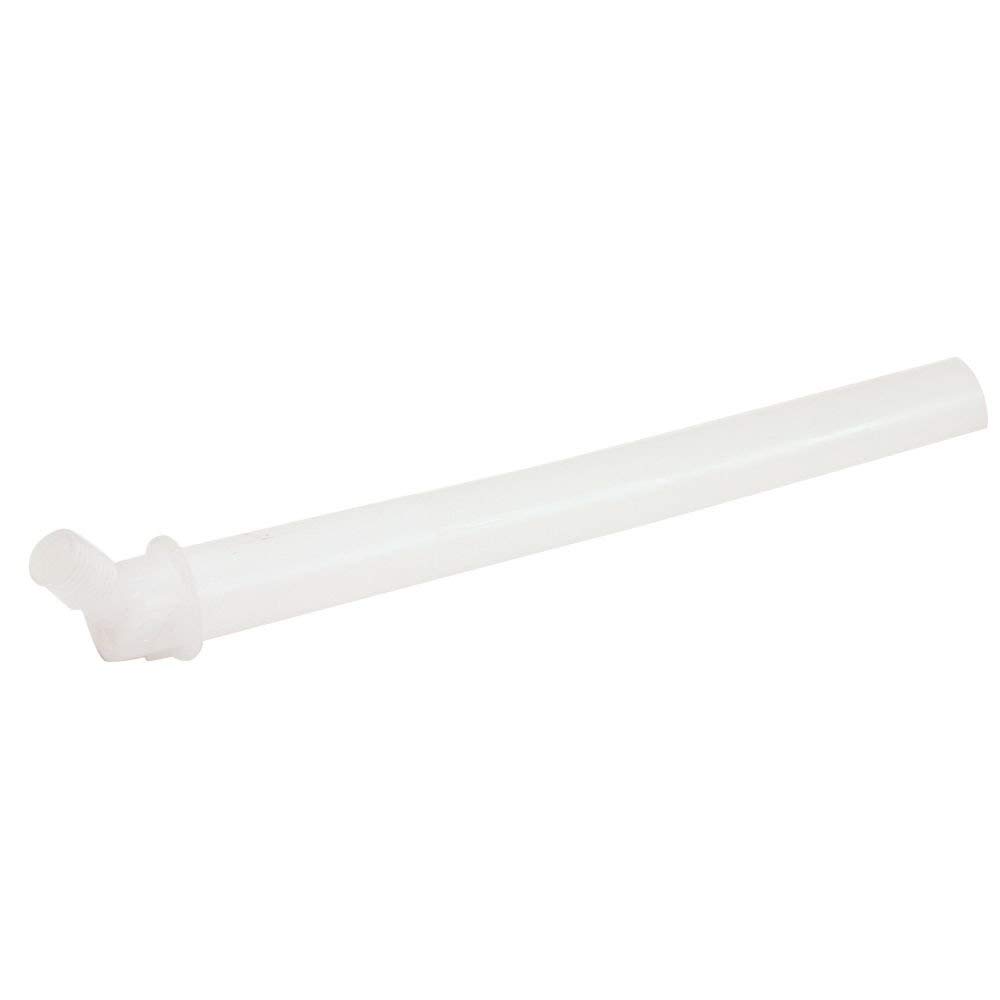
If you hear water near your icemaker, it’s not always a cause for alarm. But a persistent drip inside your freezer indicates a damaged or leaking fill tube. If you want to replace the broken icemaker fill tube yourself, order replacement part #241796405 and follow these quick steps:
1. Unplug the appliance and turn off the water supply.
The first step in any repair should be to unplug the device or flip its circuit breaker. This repair also involves manipulating the water supply lines, so turn off the localized valve near the refrigerator to remove the risk of a leak.
2. Locate the fill tube.
Pull your refrigerator out so you can access the back of the appliance. Then follow the water supply tube to the freezer inlet. This is usually in the top right corner.
3. Remove the fill tube.
A compression filling, or plastic nut, is holding the supply tube in place against the fill tube. Rotate the compression filling counterclockwise to remove the compression filling. Pull the line free and set both parts carefully to the side.
Now you can remove the fill tube itself. Wiggle the tube free by twisting it slightly counterclockwise to depress locking tab. Then pull the whole part free and set it aside.
4. Install the new part.
Insert the tube. The locking notch at the top of the fill tube should be aligned just left of twelve o’clock so you can adjust it. Push it carefully but firmly into position. Then twist it clockwise to lock it at twelve o’clock.
Insert the water supply tube back against the fill tube. Then slide the compression fitting into place and turn it clockwise to tighten it.
Look behind the icemaker in the freezer portion of your refrigerator. Make sure the tube is straight and aligned with the cup at the back of the icemaker.
Go to A to Z Appliance Repair for more repair procedures or to schedule an appointment with a technician.

Apr. 09, 2024
How to Fix Whirlpool Stove F9 Code

Apr. 09, 2024
Fix Whirlpool Duet’s F20 Error Code

Apr. 09, 2024
Freezer Working But Not Fridge? 5 Fixes

Mar. 06, 2024
Speed Queen Washer Error Codes Explained

Mar. 06, 2024
7 Reasons Why Your KitchenAid Ice Maker Isn’t Working

Mar. 06, 2024
LG Oven F9 Error: Here’s How to Fix It

Feb. 05, 2024
How to Replace an LG Refrigerator Air Filter

Feb. 05, 2024
What Do Dryer Sheets Do?

Feb. 05, 2024
How to Cook Corn on the Cob in the Microwave

Jan. 03, 2024
Bosch Dishwasher Showing E24 Error Code? Here’s What To Do
800-277-5043Give us a call