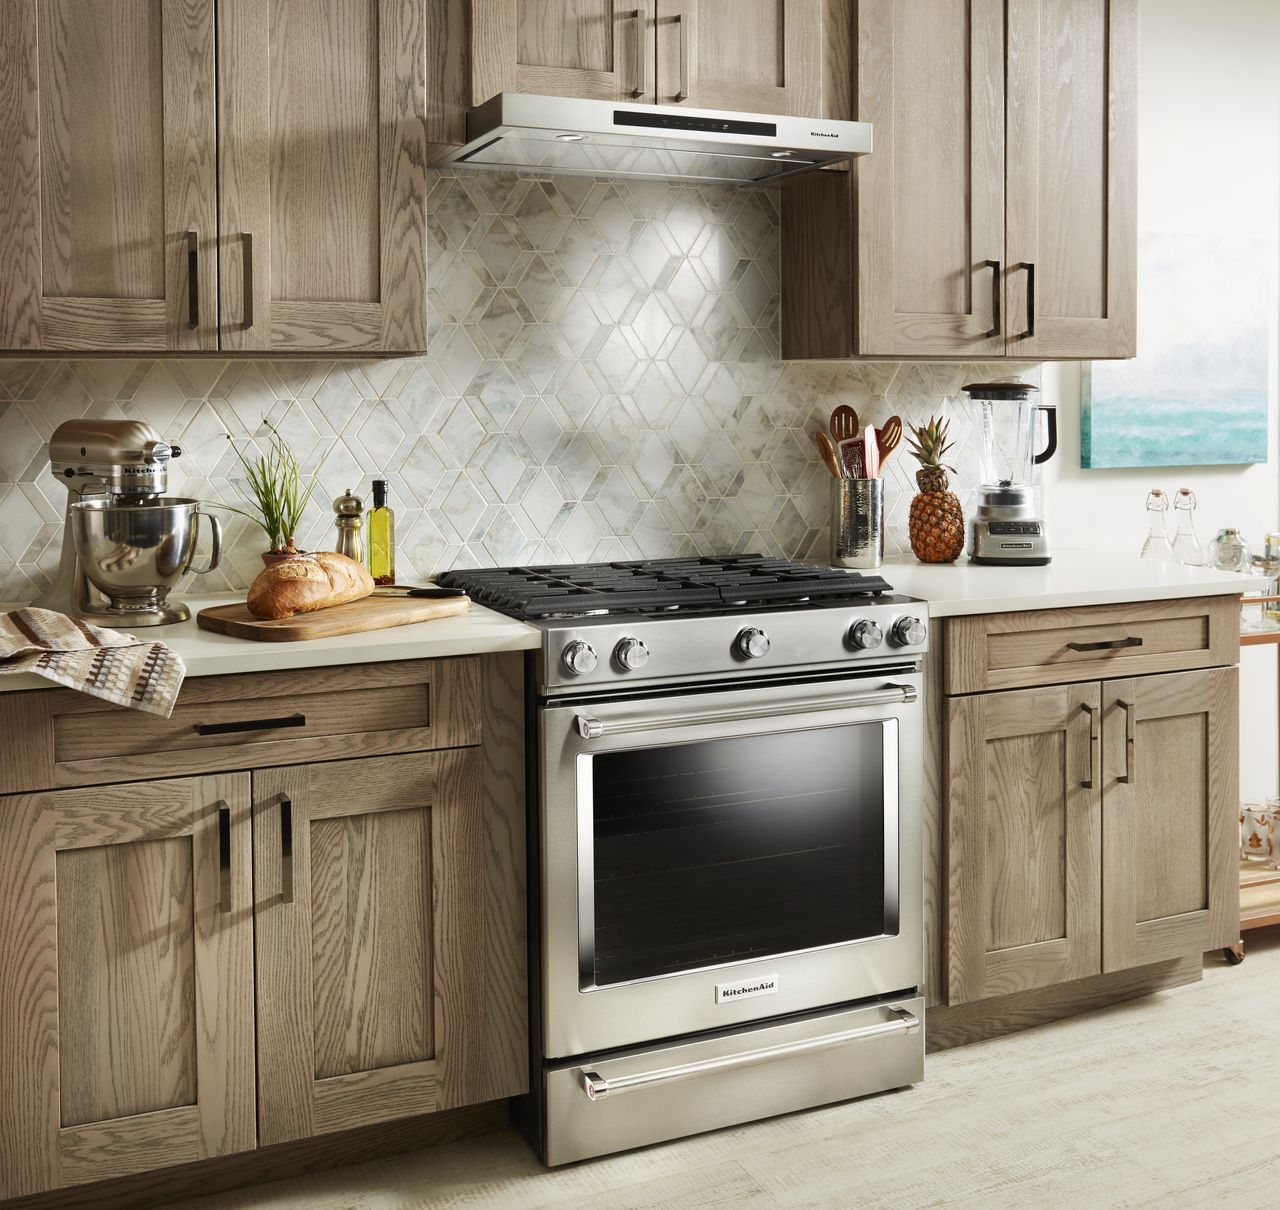
As your KitchenAid oven model KSGG700EWH heats up, the thermostat inside the oven cavity sends voltage to the oven fan. When the appliance begins to cool, a properly functioning thermostat will cease sending voltage, meaning the fan will stop spinning. A symptom of a faulty thermostat is not cutting off power to the oven fan, which causes the fan to continue operating after the oven has been turned off. If your oven fan won’t stop rotating, there’s a good chance a malfunctioning thermostat is behind the issue. To fix the problem you’ll need to replace the broken thermostat for a new one.
Oven Repair Safety Protocols
- As with any type of appliance repair, unplug your oven from the wall and switch off its gas supply valve before replacing the thermostat.
- During your repair wear work gloves and safety glasses to protect your hands and eyes.
- If at any point you feel unsafe continuing your gas oven repair, please stop what you’re doing and contact a professional appliance repair technician to take over and finish the job.
How to Replace a Faulty thermostat in Your KitchenAid Oven
- Pull your range away from the wall to access the rear panels.
- Once there’s enough room for you to work safely, head behind your oven and unthread the screws securing the lower access panel to the range. Next, take out the screws holding the right and left stock brackets to the appliance and remove the brackets.
- Carefully detach the upper access panel by lifting it up and off your range.
- Locate the thermostat wires on the back of the range near the upper right-hand corner. Then, disconnect the thermostat wire harness.
- Remove the thermostat mounting screw securing the component to the appliance. Next, uninstall the thermostat by sliding it through the hole in the back of your range.
- Install the new thermostat by inserting it into the small opening in the back of the range. Then, replace the mounting screw to secure the part, and reconnect the thermostat wire harness.
- Now it’s time to put the rear of your range back together. Grab the upper access panel and reinstall it by hooking it onto the two upper tabs. Next, replace the left and right stock brackets and reattach the lower access panel.
- To finish up, push your range back against your kitchen wall and plug-in your appliance.
If your oven is acting strange and you need help troubleshooting the malfunction, please contact us today, and we’ll send one of our highly trained appliance repair technicians to your home to inspect and repair your range.
How to Fix Whirlpool Stove F9 Code
Fix Whirlpool Duet’s F20 Error Code

Freezer Working But Not Fridge? 5 Fixes

Speed Queen Washer Error Codes Explained
7 Reasons Why Your KitchenAid Ice Maker Isn’t Working
LG Oven F9 Error: Here’s How to Fix It

How to Replace an LG Refrigerator Air Filter
What Do Dryer Sheets Do?

How to Cook Corn on the Cob in the Microwave
