

July 5, 2022
Oven Repair
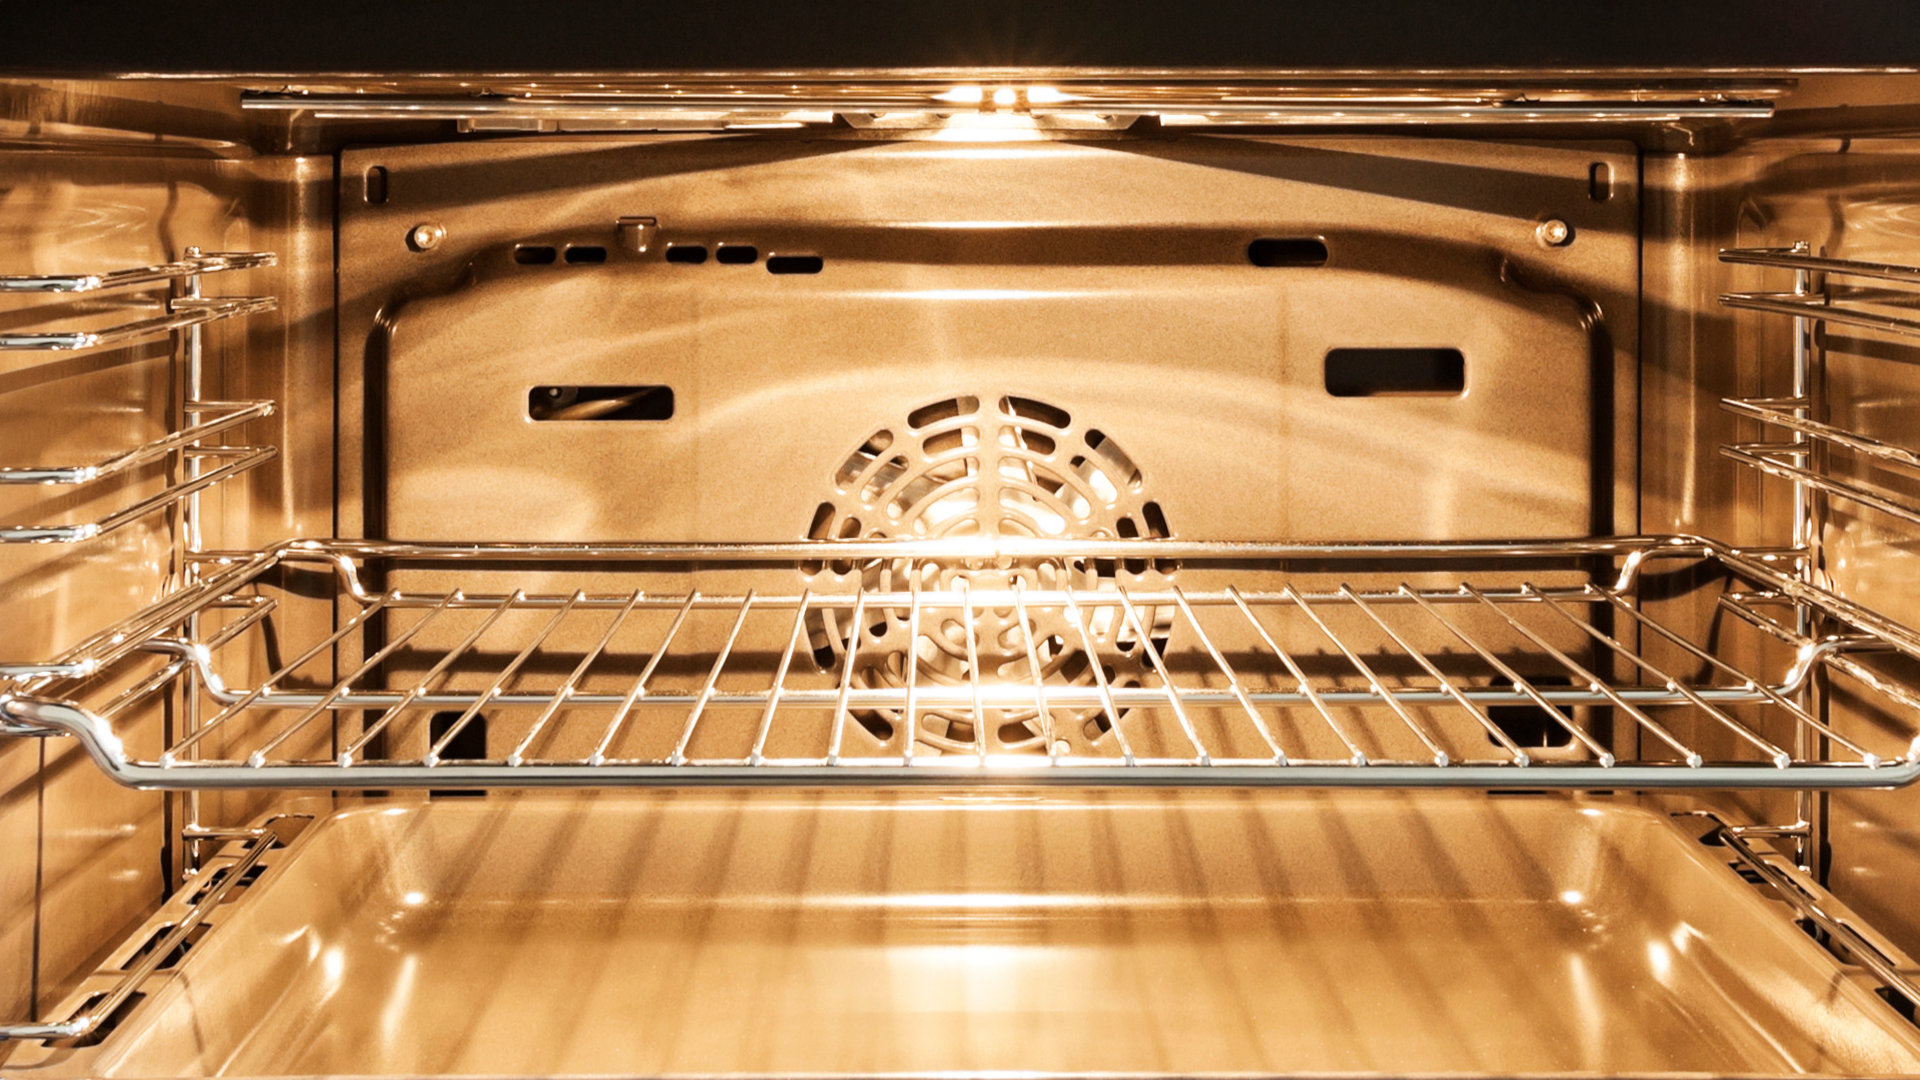
Replacing an electric oven bake element is a relatively easy procedure, although it may require uninstalling the oven from a cabinet or removing rear access panels. If you’re lucky, you’ll only need to unscrew the element, disconnect the wire connectors, and install the new element the same way. However, if you can’t disconnect the element’s wiring connectors from inside the oven, you’ll need to remove the rear access panel.
How does the element work
Before installing a new bake element, it helps to know how the element works.
Typically, bake and broil elements are secured with a mounting bracket on the oven’s back wall. Elements usually have two ends connected to wires behind the oven’s back wall that supply it with voltage, which allows the element to heat.
A new element needs to be connected to the wire connectors and secured with the mounting bracket.
Purchasing a new element
- It’s important to make sure the replacement element is compatible with the oven. Therefore, you should note the oven’s model number or the element’s model number when selecting a new element.
- The oven’s model number is usually found in the user manual or printed inside the oven, on the outside, or on the oven door. The element may also have a model number printed on it.
Accessing the element
- It usually helps to remove the oven door. Typically, the door can be removed by fully opening it, rotating the hinge locks forward, and then lifting the door up and out.
- The bake element is often located beneath a panel on the bottom of the oven. The panel may have screws that need to be removed to take it out of the oven.
- If you can’t access the wire connectors or the mounting bracket screws inside the oven, you need to remove the back access panel of the oven. Once the rear access panel is removed, you should see the element and its wire connectors or mounting bracket.
- If you need to remove the rear panel and the oven is secured to the wall inside a cabinet, you first need to uninstall the oven from the cabinet. Look for mounting screws around the oven frame and remove them. Disconnect the power first.
Tips before you start
- Wear work gloves to protect your hands from cuts and to protect against electrocution.
- Use a flashlight to help see small components inside the oven.
- If you’re changing the bake element, consider replacing the broil element as well because both elements usually have a similar lifespan.
- To prevent losing the element wires behind the oven wall, secure each wire connector to the back wall of the oven with masking tape.
How to remove and replace an electric oven bake element
1. Disconnect the power
The power supply to the oven must be shut off in the breaker box or electrical panel. Be aware that some ovens have two breakers for the oven, one for each of the 120-volt fuses that power the oven.
If the oven has a plug (i.e., it isn’t hardwired), for safety, unplug the oven as well as shutting off the breaker.
2. Remove the oven trays
In addition to the trays, you may also want to remove the oven door.
3. Locate the element mounting bracket
As mentioned above, you may need to remove a panel to locate the element mounting bracket underneath the panel.
4. Remove the mounting bracket screws
Depending on the type of oven, you’ll likely need either a Phillips head screwdriver or a nut driver to remove the mounting bracket screws.
5. Locate the element wire connectors
Once the mounting bracket screws are removed, gently pull on the element to locate the two wire connectors on each side.
Don’t pull on the wires as you may damage them.
Some insulation may come out, which is normal. Make sure to put it back when installing the new element.
6. Disconnect the wire connectors
Depending on the type of oven, either your fingers or needle-nose pliers will be needed to disconnect the element wire connectors.
Be careful not to lose the wires behind the oven wall when you disconnect them.
Once you have disconnected the wire connectors, you should be able to remove the old element from the oven.
7. Install the new element
Align the new element with the wire connectors.
8. Connect each wire connector with the new element
Again, you should be able to connect the wire connectors with either your fingers or needle-nose pliers.
Most element connectors are separated, but if they’re close to each other, make sure not to connect the wrong wire connectors because it can cause a short circuit and potentially a fire.
9. Secure the mounting bracket
With either a Phillips head screwdriver or a nut driver, secure the mounting bracket screws.
Make sure the insulation is pushed back behind the oven wall but not tangled around the wire connectors.
10. After installing the element
Return the panels, oven racks, and if necessary, the door to their correct positions.
Next, restore power to the oven. If the oven was unplugged, don’t forget to plug it back in.
11. Test the oven
Set the oven to bake, and watch for the element to glow and start heating.
Don’t worry if you see some wisps of smoke coming from the element; it’s just the protective factory coating burning off. You may also detect a faint acrid odor.
If you see heavy or consistent smoke, the oven is likely on fire. Turn the oven off and determine if you need to call the fire department.
If the element fails to heat up, check if the power was restored. If the oven is receiving power, the wire connectors may not have been connected properly. Disconnect the power and check the wire connectors. You may need to contact a technician or an electrician to diagnose and fix the problem.

Apr. 09, 2024
How to Fix Whirlpool Stove F9 Code

Apr. 09, 2024
Fix Whirlpool Duet’s F20 Error Code

Apr. 09, 2024
Freezer Working But Not Fridge? 5 Fixes

Mar. 06, 2024
Speed Queen Washer Error Codes Explained

Mar. 06, 2024
7 Reasons Why Your KitchenAid Ice Maker Isn’t Working

Mar. 06, 2024
LG Oven F9 Error: Here’s How to Fix It

Feb. 05, 2024
How to Replace an LG Refrigerator Air Filter

Feb. 05, 2024
What Do Dryer Sheets Do?

Feb. 05, 2024
How to Cook Corn on the Cob in the Microwave

Jan. 03, 2024
Bosch Dishwasher Showing E24 Error Code? Here’s What To Do
800-277-5043Give us a call