

June 8, 2020
Oven Repair
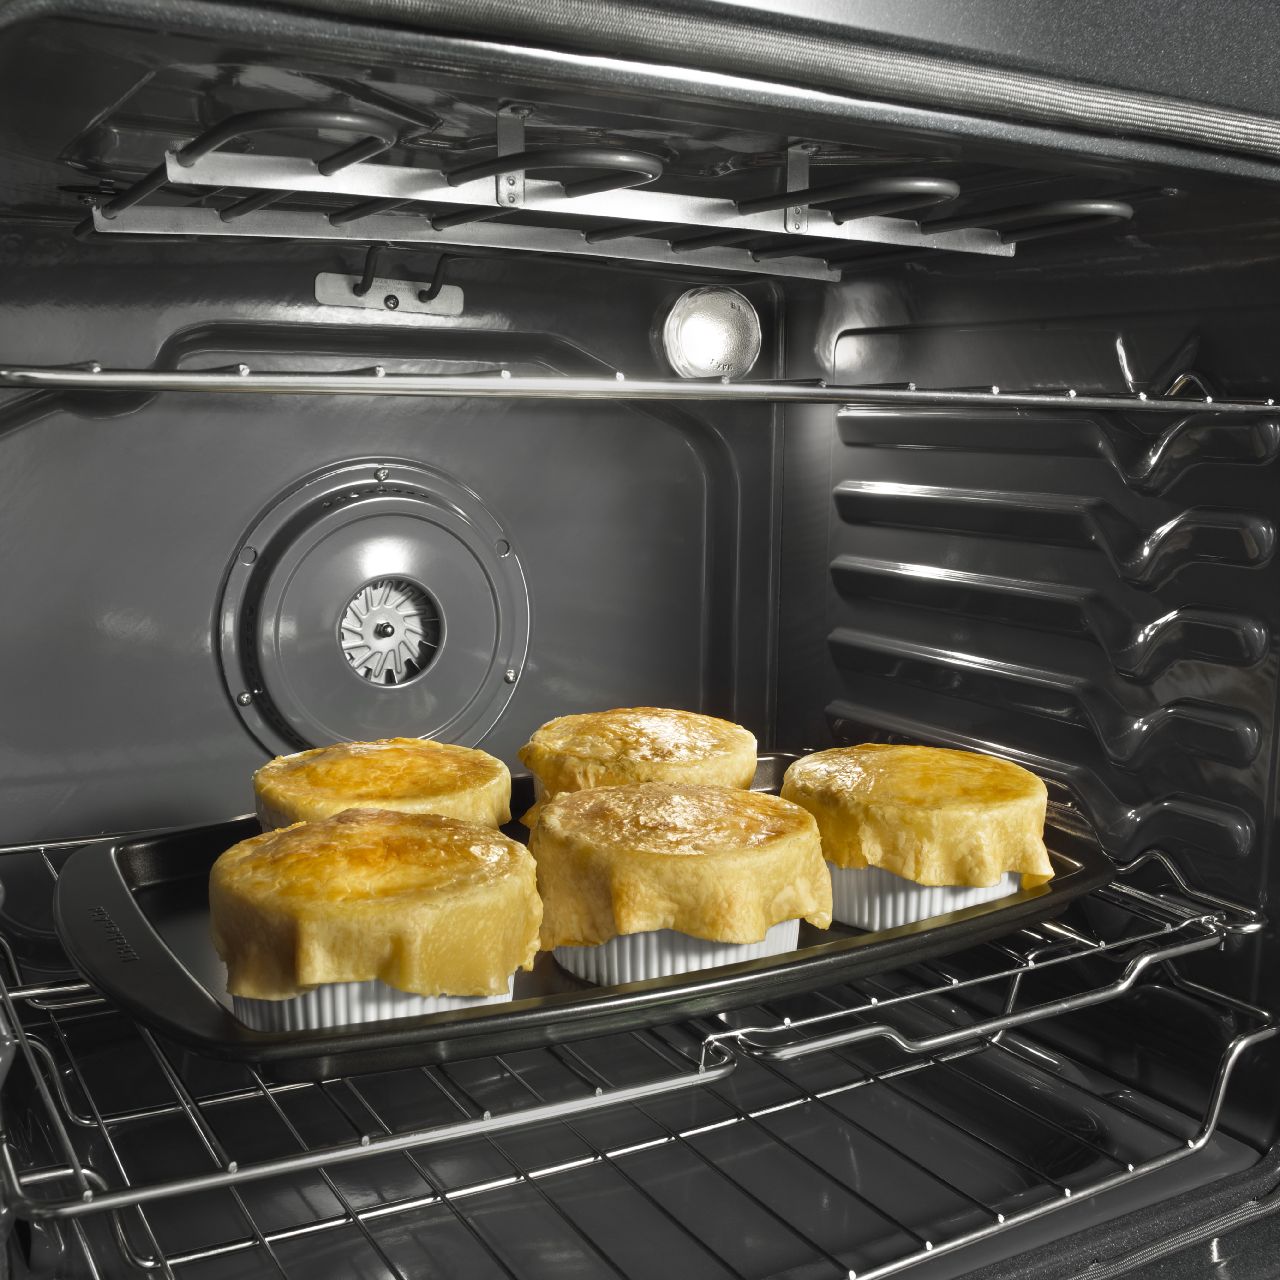
Your oven light is a small bulb hidden in the far upper corner of the oven compartment. It’s easy to take for granted, using only when you need to check on a cake or pizza until suddenly it’s gone. With the oven light, You can get a much clearer view of the inside of your oven when it comes time to cook or to clean. But when your oven light breaks, we realize just how dark the inside of an oven really can be.
This guide will help you locate and replace your oven light so that you can go right back to peeking at cakes and casseroles as they bake, not to mention getting a good look at the holiday Turkey as it browns to a delicious crisp.
Take Care of Safety First
The first step in any oven repair is to make sure that you are safe. If you have used the oven recently, make sure it has cooled completely before you begin. To cool it faster, open the oven door after turning off the oven to release the heat more quickly. When you’re ready to begin, unplug your oven so that no current will run through the lightbulb and so the oven has zero risk of becoming hot again while you work on it.
- Let Your Oven Cool
- Unplug the Oven
Your Supply List
Next, gather your supplies. For this repair, you will need a replacement lightbulb of the correct size to start with. Look up your oven’s make and model to find out what size of lightbulb it uses. You will also want a flashlight or, better, a headlamp to see your work inside the dark oven and you may need a screwdriver depending on the design of your oven light cover.
- Flashlight
- Screwdriver
- Replacement Lightbulb
Locate Your Oven Light
Now that you’re ready, open up your oven and find the oven light cover. This will likely be in a back corner, but not all oven models put their light in the same place. Once you have identified the light location, take a closer look at the light cover. It is likely glass or heat-resistant plastic. It may be twist-on or fastened in with screws.
Remove the Light Cover
The next step is to remove the light cover. If there are apparent screws, remove them and carefully set them aside. Of there are no screws, try twisting the light cover counter-clockwise to loosen a twist fastener. When the light cover comes loose, set it aside next to it’s screws. This will have revealed the small oven lightbulb. This might be a good chance to clean your light cover if you care to.
Replace the Lightbulb
With the lightbulb exposed, you’re ready to do your replacement repair. Carefully remove the old lightbulb by grasping it and twisting counter-clockwise until the light comes loose. Throw away the old lightbulb. Then install the new lightbulb by reversing the process. We’ll assume you understand the basics of changing a lightbulb, no matter how small.
Return the Light Cover
Fit the light cover back into place. If it had screws, return them and twist them tightly into place. No need to over-tighten, as your oven does not shake around. If the light cover twisted off, twist it neatly back on again.
Test Out the Oven Light
With the lightbulb and cover back in place, you’re ready to test out the success of your repair. Close up your oven and plug it back in. Once you reset your clock, switch the oven light on and off a few times. If the oven light comes on with the switch, you have succeeded. Congratulate yourself and enjoy baking something fun to watch. Contact us today for more helpful appliance repair tips, guides, and services.

Apr. 09, 2024
How to Fix Whirlpool Stove F9 Code

Apr. 09, 2024
Fix Whirlpool Duet’s F20 Error Code

Apr. 09, 2024
Freezer Working But Not Fridge? 5 Fixes

Mar. 06, 2024
Speed Queen Washer Error Codes Explained

Mar. 06, 2024
7 Reasons Why Your KitchenAid Ice Maker Isn’t Working

Mar. 06, 2024
LG Oven F9 Error: Here’s How to Fix It

Feb. 05, 2024
How to Replace an LG Refrigerator Air Filter

Feb. 05, 2024
What Do Dryer Sheets Do?

Feb. 05, 2024
How to Cook Corn on the Cob in the Microwave

Jan. 03, 2024
Bosch Dishwasher Showing E24 Error Code? Here’s What To Do
800-277-5043Give us a call