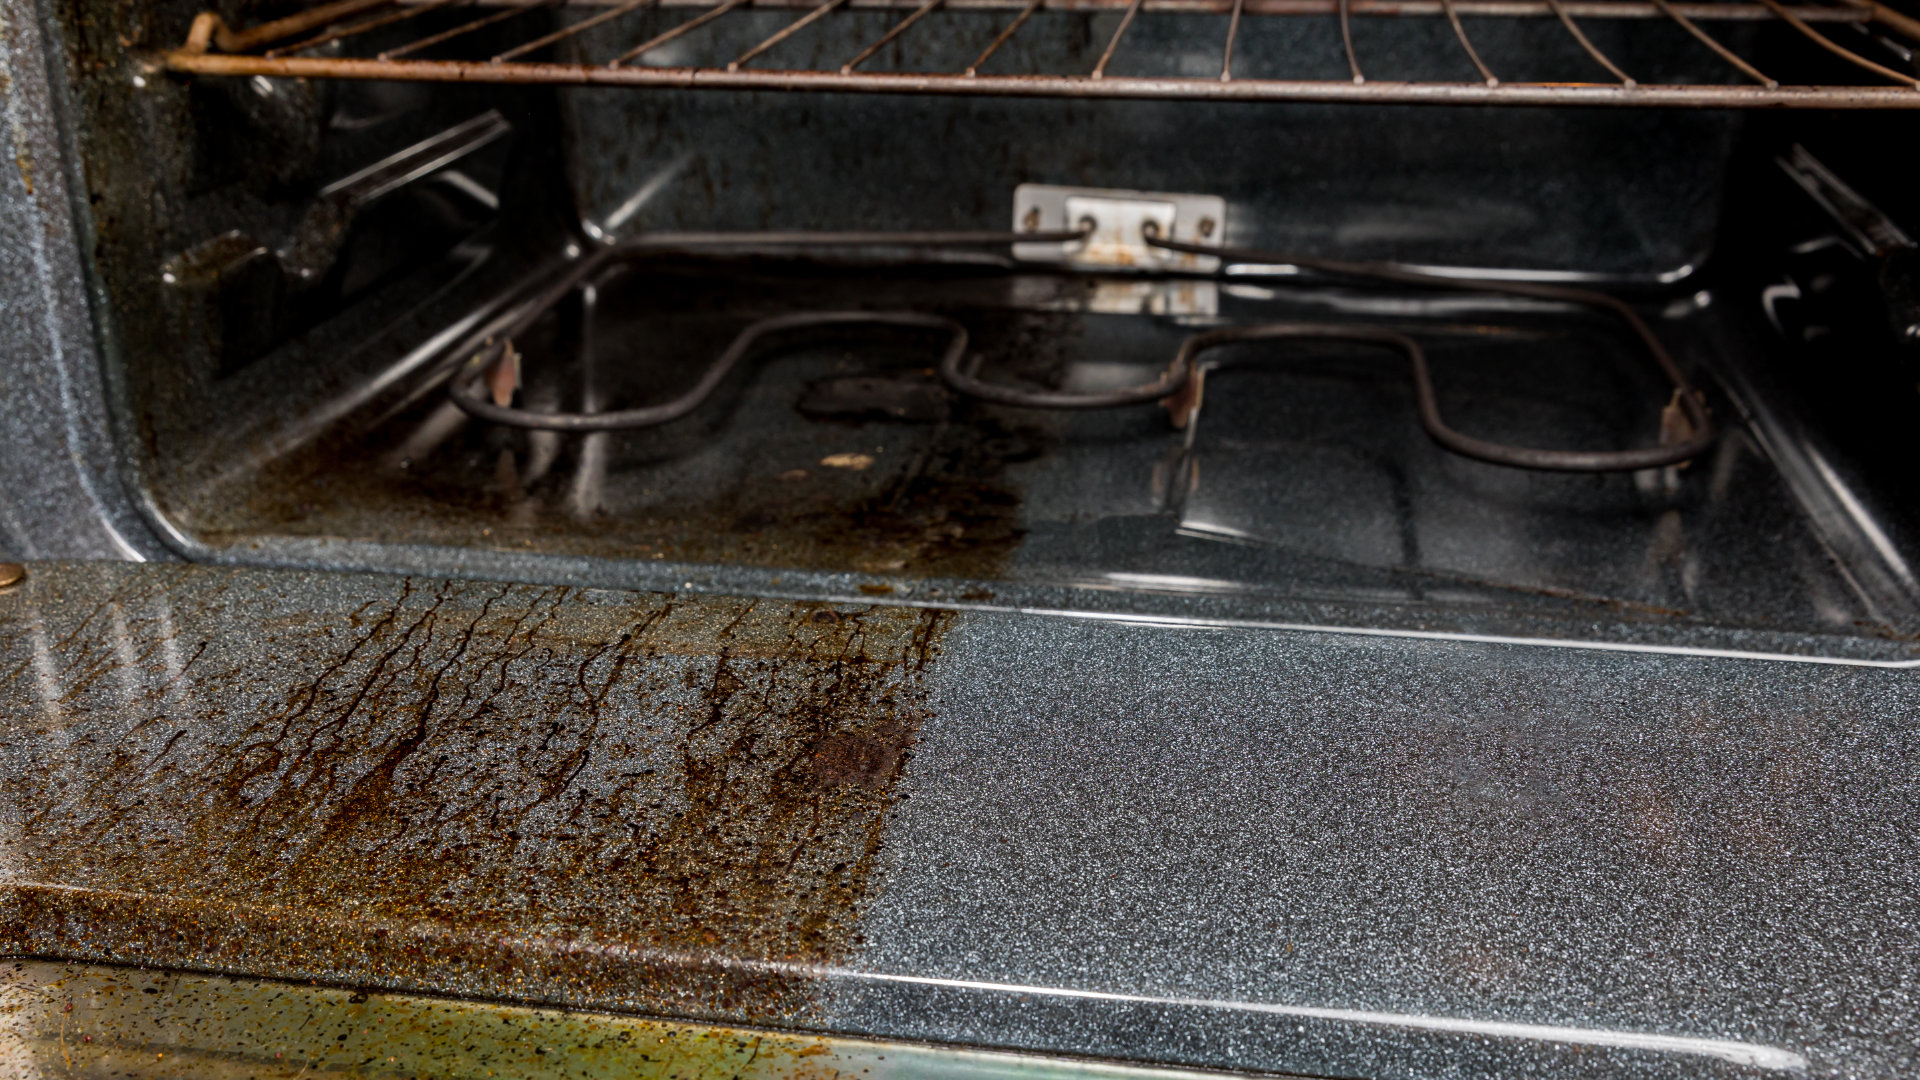
If you are like me, you put off cleaning the oven for as long as possible. Thankfully, if you have a self-cleaning oven, the oven will do most of the hard work. When set to self-clean, a self-cleaning oven heats to above 800 degrees Fahrenheit, reducing oven residue to ash, which can then be easily wiped away.
However, many people are discouraged from using their self-cleaning oven because of the high heat required, the smells it can make, and the smoke it may cause. Fortunately, with this guide to help you, there is no need to worry. Read on to learn how to clean a self-cleaning oven.
6 Steps to Clean a Self-Cleaning Oven
- Make sure the room has ventilation. Open windows and turn on fans.
- Remove pets from the area.
- Remove dish racks and trays from the oven unless they are designed not to damage during the self-cleaning process.
- Remove food scraps and debris from the oven.
- Start the self-cleaning cycle, making sure the door lock has been activated.
- After the oven has cooled down and the cycle has completed, use a soft cloth or sponge to wipe away the ash from inside the oven.
These are the basic steps to clean a self-cleaning oven. For more information, keep reading.
Safety Warnings
There is some conflicting information about the dangers posed by the smoke and fumes that the oven may cause. Some sources recommend having a carbon monoxide detector in your kitchen when operating a self-cleaning oven.
However, other sources dispute the need for such precautions. The website Self-Cleaning Ovens makes a strong case that self-cleaning ovens are perfectly safe. The McGill Office for Science and Society also breaks down the issue.
Check with your oven’s manual for the safety advice that is relevant to your specific make and model. Most manufacturers recommend making sure the room is ventilated and that pets are removed. However, if you or a member of your family suffers from asthma or any upper respiratory disease, extra precautions may need to be taken.
Check the Manual
Because self-cleaning ovens can be made with different materials and feature differing safety warnings, a good first step is to read the instructions in the oven’s manual. If you do not have a manual, try to search for it online.
Prepare the Oven
Before the oven begins the self-cleaning cycle, it is important to make sure there is adequate ventilation. Depending on the oven, you may also need to remove oven trays and racks. Typically, the cleaning process takes 3-4 hours; however, it can vary depending on the setting you select. It is safer not to leave your home while the oven is cleaning, but you may want to avoid the kitchen if there is smoke and fumes.
Before starting the self-clean process:
- Ensure that the space has good ventilation. Open windows and turn on the oven’s overhead fan. During the cleaning cycle, the oven may emit smoke, which can be dangerous to humans and pets.
- Move pets away from the oven, and keep them away. During the cleaning process, there may be smoke and fumes that can be harmful to pets, especially to birds.
- Remove oven racks and trays from the oven. If you leave these in the oven, the heat can damage the metallic coating on these parts. Instead, remove the racks and clean them in a sink with a soft sponge, some baking soda, and a little dishwashing liquid. Note: Some self-cleaning ovens come with trays and racks that are pyrolytic-proof and can be left in the oven. Check your oven’s manual to make sure.
- Remove easily removable food debris from inside the oven. Make sure to use a soft sponge or a cleaning tool, like a non-scratching scraper, that will not damage the oven’s pyrolytic coating.
Can I Clean My Self-Cleaning Oven by Hand?
First of all, why spend the money on a self-cleaning oven if you are going to clean it by hand? Second, the answer is not really, as cleaning too vigorously or with a cleaning product will likely damage the oven. However, cleaning gently, with a little bit of dish soap, should be okay.
The reason you should be careful when hand-cleaning the oven is that the inside has a special coating, a pyrolytic coating, which allows the oven to self-clean. If you are too rough when cleaning or you use a cleaning product, you will likely damage the pyrolytic coating. However, if the oven is not in a self-cleaning cycle, cleaning the oven with a soft cloth or sponge with a little bit of dish soap should not affect the coating.
How Does the Self-Cleaning Oven Clean?
A self-cleaning oven works by reaching a temperature that is between 800 and 1,000 degrees Fahrenheit. When the oven reaches this temperature, everything inside the oven is turned to ash. You can then easily wipe away the ash to have an almost brand-new-looking oven. Typically, the self-cleaning process takes around 3-4 hours, depending on the cycle you select. The oven should stop automatically after the cleaning cycle, but you will not be able to open it until it has cooled down.
How Does the Self-Lock Function Work?
When the self-cleaning process is activated, the oven door will lock to protect you from the heat, fumes, and smoke while it works. The door will remain locked until the oven has cooled down and it is safe to open the door.
What if the Oven Glass Is Still Dirty?
Sometimes, after a cleaning cycle the glass on the oven may still appear dirty. If this happens, it can be cleaned by using a little bit of baking soda and water. After sprinkling some baking soda on the glass, spray some water onto the glass to make a paste. Leave the paste for ten minutes or longer, depending on how stubborn the stain is. Then, take a soft cloth or sponge and wipe away the paste. The glass should now be clean. If it is not, leave the baking soda paste on longer, even overnight if necessary. Avoid using too much water, as it will leave drip marks on the oven glass.
How to Fix Whirlpool Stove F9 Code
Fix Whirlpool Duet’s F20 Error Code
Freezer Working But Not Fridge? 5 Fixes

Speed Queen Washer Error Codes Explained
7 Reasons Why Your KitchenAid Ice Maker Isn’t Working
LG Oven F9 Error: Here’s How to Fix It
How to Replace an LG Refrigerator Air Filter
What Do Dryer Sheets Do?

How to Cook Corn on the Cob in the Microwave
