

August 20, 2018
Dryer Repair
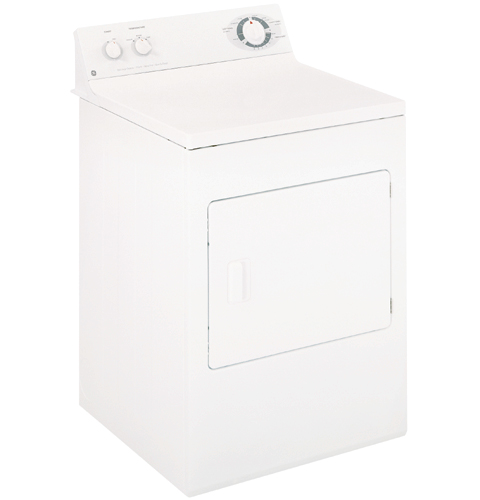
The upper felt glide pad in your GE dryer model DBL333EAAA supports the appliance’s front drum as it rotates. Over time, the glide can deteriorate, causing the dryer to become noisy during operation. Removing and replacing the worn felt glide is a quick and easy do-it-yourself weekend project.
How to Replace the Upper Felt Glide Pad in Your Dryer
Always unplug your appliance before carrying out any type of repair. Safety goggles and work gloves should be worn to protect against injury.
-
Insert a putty knife into the gap between the top of the dryer and front panel. Slide the putty knife to the right until you contact the spring clip securing the panels together. Depress the clip and slightly lift up the top of the dryer. Repeat the same process on the other side of the appliance. Now that the panels are separated, take off the top of the dryer and place it somewhere safe.
-
Using a Phillips screwdriver, on the inside of the washer, remove the screws holding the front panel to the cabinet. Lean the panel back a few inches and disconnect the wires to the door switch. Tilt the panel further back and unfasten the two hooks holding the panel to the bottom of the cabinet. Pull the panel off the washer, and put it door side down on a flat, towel-covered surface.
-
The upper felt glide pad is located on the top arch of the washer door. To remove the worn glide pad, use a putty knife. Insert the putty knife under the felt glide pad and lift the corner up to loosen it. Once the end of the pad is raised off the metal surface, grab the corner with your hand, and peel the rest of the glide pad off the arch. You will need to go back over the surface with your putty knife to scrape off any felt and glue residue left on the metal.
-
After you have cleaned off all the worn felt and the surface is relatively free of glue residue, carefully spread a generous amount of the new adhesive onto the metal surface. Avoid getting glue on the lip of the bulkhead or on the lower felt during application. Now it’s time to install the new upper felt glide pad. Carefully press the pad onto the glue-covered surface. Place clothespins or spring clamps onto each end of the pad to hold it in place as the adhesive dries. The drying process should take around twenty minutes.
-
Once twenty minutes have passed, inspect the glide pad to ensure it is done the drying. If it is, you can reassemble your dryer and enjoy a much quieter appliance.
If you have other questions about your dryer’s performance or you need help diagnosing and repairing a malfunction, please contact us today to schedule an appointment.

Apr. 09, 2024
How to Fix Whirlpool Stove F9 Code

Apr. 09, 2024
Fix Whirlpool Duet’s F20 Error Code

Apr. 09, 2024
Freezer Working But Not Fridge? 5 Fixes

Mar. 06, 2024
Speed Queen Washer Error Codes Explained

Mar. 06, 2024
7 Reasons Why Your KitchenAid Ice Maker Isn’t Working

Mar. 06, 2024
LG Oven F9 Error: Here’s How to Fix It

Feb. 05, 2024
How to Replace an LG Refrigerator Air Filter

Feb. 05, 2024
What Do Dryer Sheets Do?

Feb. 05, 2024
How to Cook Corn on the Cob in the Microwave

Jan. 03, 2024
Bosch Dishwasher Showing E24 Error Code? Here’s What To Do
800-277-5043Give us a call